A bag sold for a particular coffee weight does not tell you how much flat space its front offers. Two bags that hold the same amount can have different widths, folds and closures. Choose the pack for the fill you sell, then measure the finished shape before choosing the label.
01
Keep fill weight and bag measurements in separate columns
When comparing bags, record the intended net coffee weight beside the supplier’s width, height and gusset measurements. Treat a capacity description as the starting point for a fill test. The bag’s outer dimensions are the information you need when planning front and back artwork.
For a range sold in grams, keep the same units in your planning sheet. If you also sell in ounces, write the intended declared quantity for each item explicitly. A 250 g pack and a 12 oz pack are different options, so give each a separate sample and artwork record.
| Illustrative sales size | What to compare on a filled sample |
|---|---|
| 100 g sample pack | Short front panel and readable product identity |
| 250 g retail pack | Front width after the side folds open |
| 340 g retail pack | Room for the closure and any valve |
| 1 kg larger pack | Stable standing shape and label position at full fill |
02
Measure with the bag filled and closed
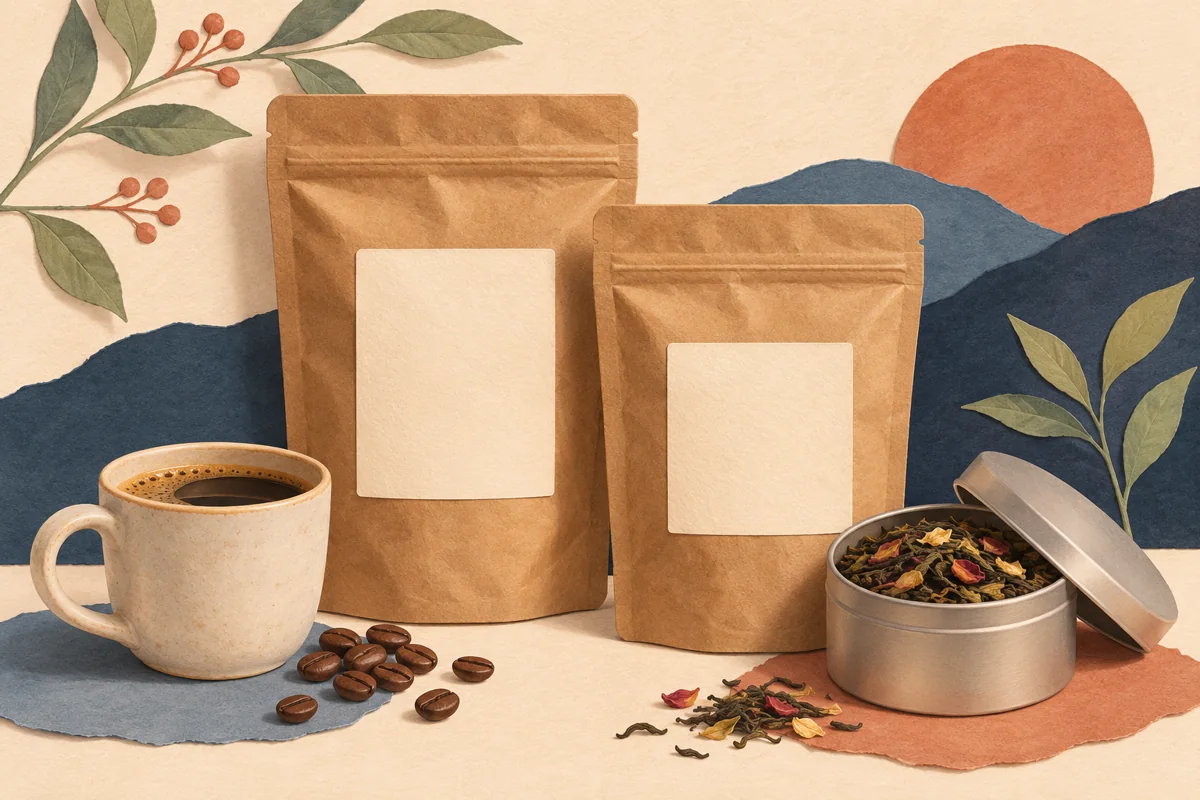
Set the filled pouch upright and mark where its face turns into the side folds. Mark the bottom of the zipper or folded closure and the point where the base curves forward. Place a paper rectangle inside those boundaries and look at it from the front.
Suppose your sample gives you 90 mm of comfortable width and 115 mm of height below the closure. A 75 × 90 mm paper proof leaves room to evaluate the edges. These dimensions describe this worked example and need a fresh fit check on a different bag. Move the proof lower or higher until it stays flat on the filled pack.
03
Build a label family without forcing one size onto every bag
Keep the brand, coffee name and roast information in consistent positions. On the smallest bag, simplify the front to the elements a buyer uses to recognize the coffee. Place secondary information on another suitable panel when the package allows it.
Compare the longest origin name on the smallest front. Then check the same artwork on your largest bag. If the label looks lost on the larger face, make a second layout that preserves the type hierarchy. Save each version with the corresponding bag code.
04
Order against an approved packed sample
Before buying a production quantity, put a finished label on the chosen bag and close it with the actual fill. Check the front, the rear and the way the pack sits in a shipping box. TricorBraun Flex offers several coffee packaging formats, which is a reason to review the specific bag rather than infer its shape from capacity alone.
Keep the approved sample and dimensions with your print file. If the supplier changes the zipper, valve position or bag construction, recheck the fit before reusing the old artwork.
BEFORE YOUR NEXT STEP
Your practical checklist
- Record fill weight separately from outside dimensions.
- Measure the filled and closed bag.
- Proof the longest coffee name on the smallest pack.
- Keep the bag code with its approved label file.
Questions & answers
Can I use one label size on two coffee bags?+
Yes, when the same proof fits both filled panels and remains readable. Test both bags before committing to a single size.
Is the gusset part of the front label area?+
Inspect the actual folds on the filled bag. Keep a front label inside the area that stays flat unless your printer has designed a wrap for that construction.
Sources & further reading
Official references for the technical points in this guide. Check current specifications before production.