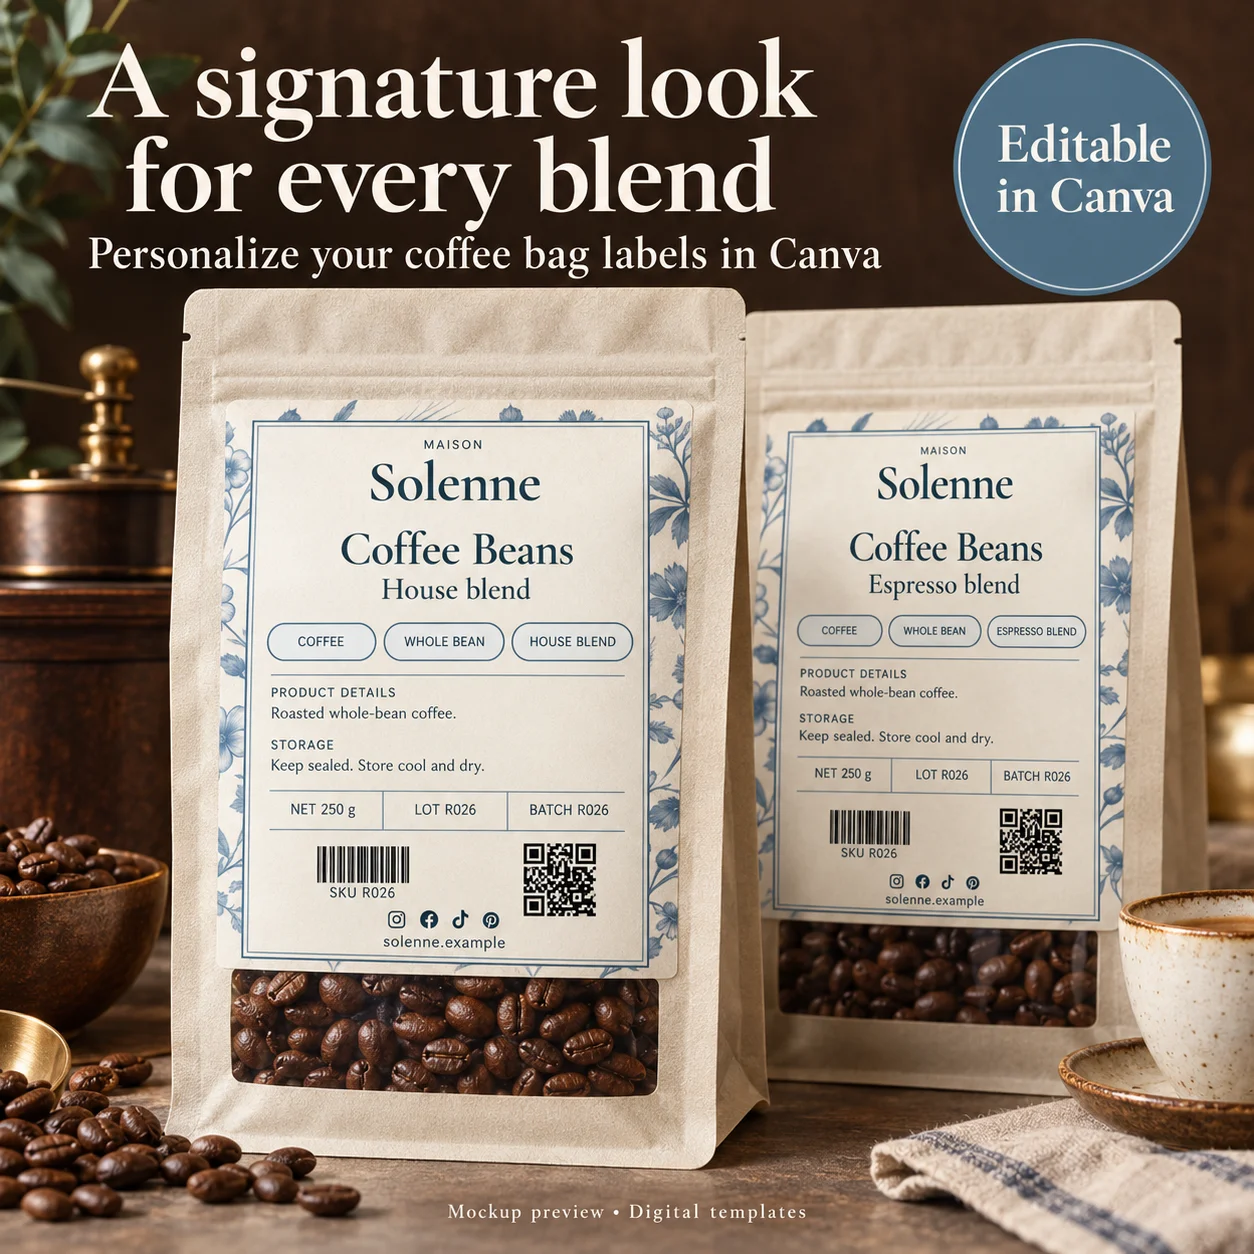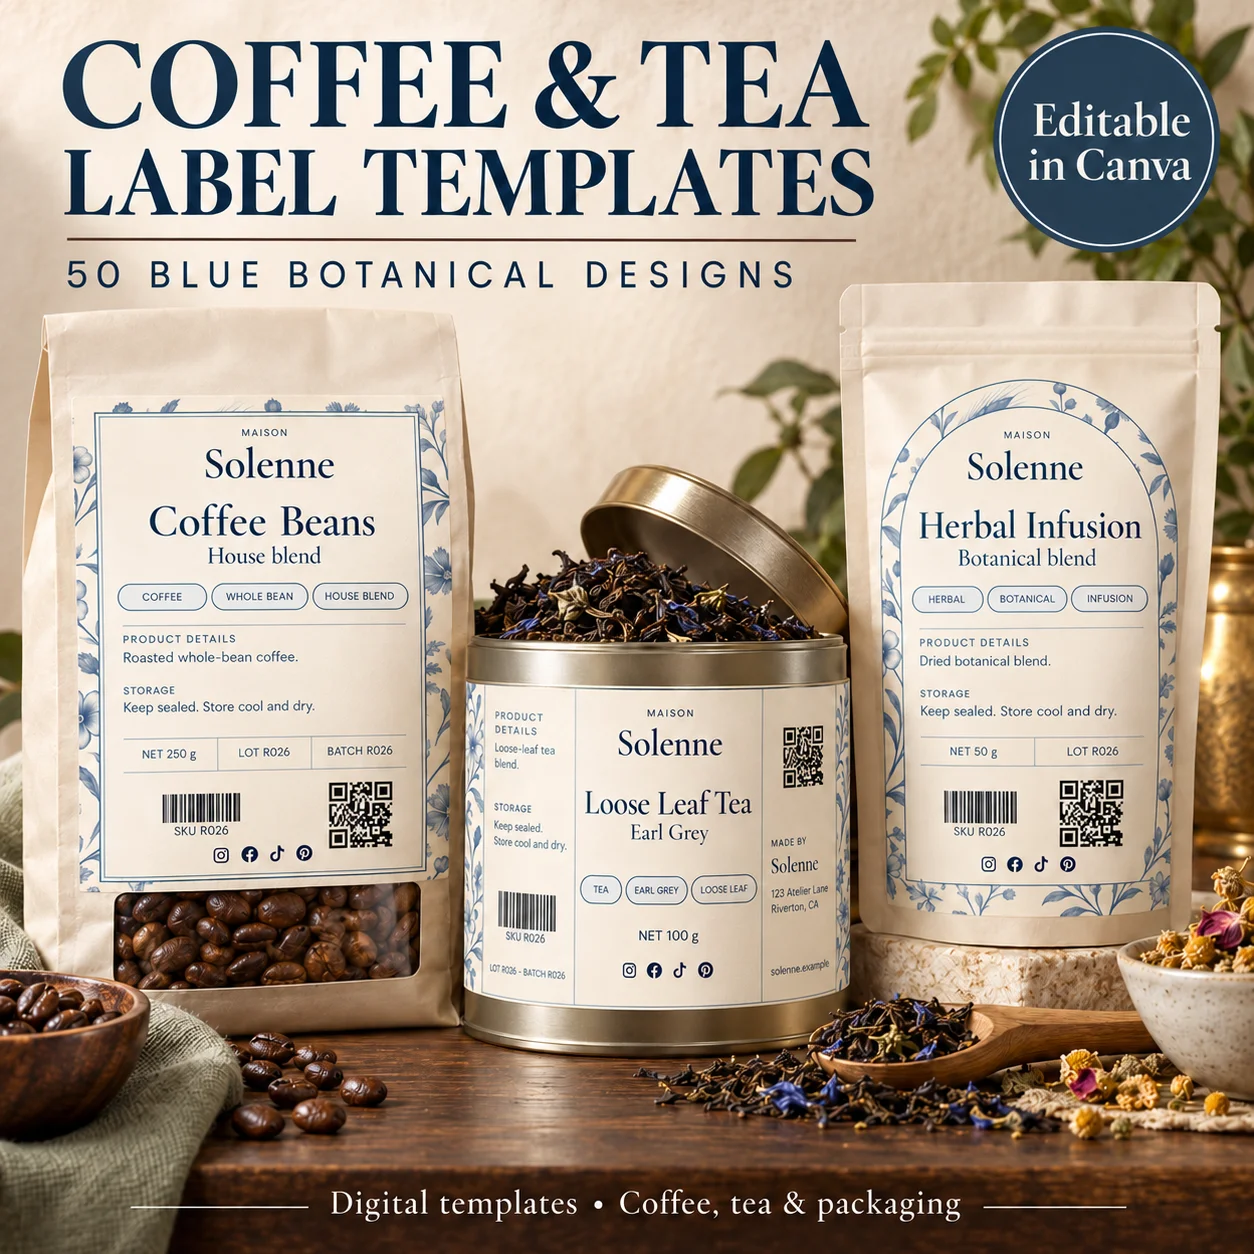
A coffee bag changes shape as it is filled, folded and displayed. That makes the label’s placement just as important as the typeface. A flat design can become difficult to read if it crosses a fold or disappears around a bulging edge. Work with the actual bag construction, then give the customer a clear route through the product information.
01
Measure the bag in its display shape
Prepare a sample bag with the expected fill and closure before choosing the label area. Note folds, seams, any valve and the surface that will face forward. The flat empty bag’s dimensions may not describe the useful space once the package is standing on a shelf.
Tape on a paper label at the proposed size and photograph it from the normal viewing angle. If the label curves too far around the sides, try a narrower composition. Check that the package can still be opened, closed and handled as intended after the label is applied.
02
Create a clear coffee identity
Decide which information helps your customer distinguish this coffee from the others in your range. Put the product name and important variant details in predictable positions. Keep the branding recognizable, but avoid giving a decorative headline more emphasis than the information someone needs to choose a bag.
Read the front at two distances: as a thumbnail in a product listing and at normal hand-held distance. A design can be attractive close up while failing to communicate in a small shop photo. Adjust spacing and contrast before adding extra badges or a second display font.
03
Separate fixed artwork from variable fields
Keep stable decisions such as logo placement, border and type pairing in a master layout. Identify the text that changes between coffees or production batches. Use a consistent naming convention for these fields so a duplicated design is easier to review.
Maintain an approved wording sheet for every version. Check details such as the coffee name, any origin statement and other product-specific information against the correct record. Do not reuse sample copy simply because it looks convincing in a packaging mockup.
04
Choose a material for the bag surface
Paper, film and textured packaging can interact differently with adhesives. Test on the exact bag you plan to order, including its finish. Apply a sample and inspect it after filling, moving and displaying the bag. Check the corners and any area close to a fold.
A clear label requires another test: the color and texture of the bag become part of the design. A white or ivory background label can make a consistent visual panel across several bag colors. Choose the effect intentionally rather than assuming the screen preview will look the same on every surface.
05
Build a repeatable artwork handover
Before printing, review the complete label set for one bag: front, supporting information and any secondary stickers. Required food-label content and claims need to be checked for the product and destination market. A Canva layout is not an approval of that wording.
Save the editable master, final export, label size, chosen material and a photo of the approved filled bag. Add a version or date to the file name. When a new coffee arrives, update the variable information and repeat the proofing steps instead of relying on the previous version’s successful print.
BEFORE YOUR NEXT STEP
Your practical checklist
- Measure a filled and closed bag.
- Avoid folds, valves and closure areas.
- Check all variable information against the right product record.
- Approve the print and photograph it on the real bag.
Questions & answers
Should every coffee use a different design?+
A shared layout with consistent variable fields can make the range easier to recognize. Use different designs when they serve a clear product or customer need.
Are kraft bags always the best match for botanical labels?+
No. Compare the artwork against the actual bag colors and finishes, including the effect on contrast and photography.
This article addresses visual packaging decisions. Verify the current food-label requirements that apply to your market.
Sources & further reading
Official references for the technical points in this guide. Check current specifications before production.