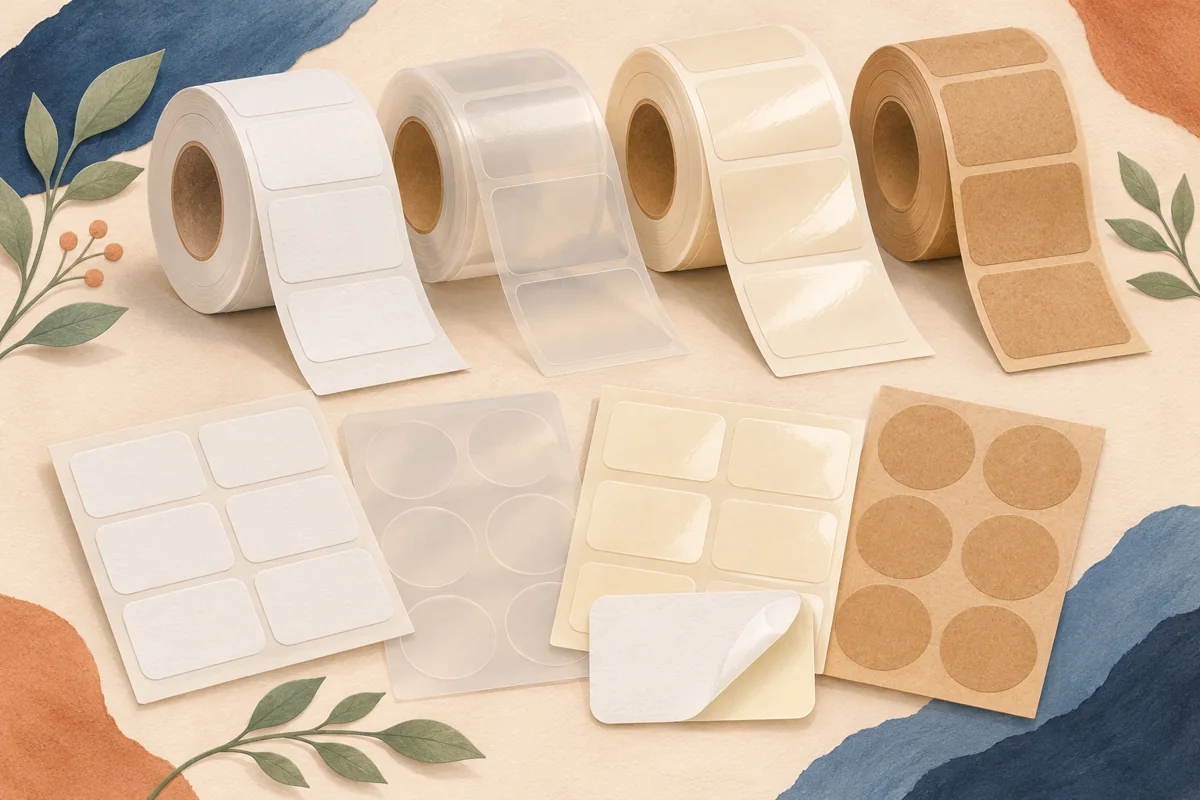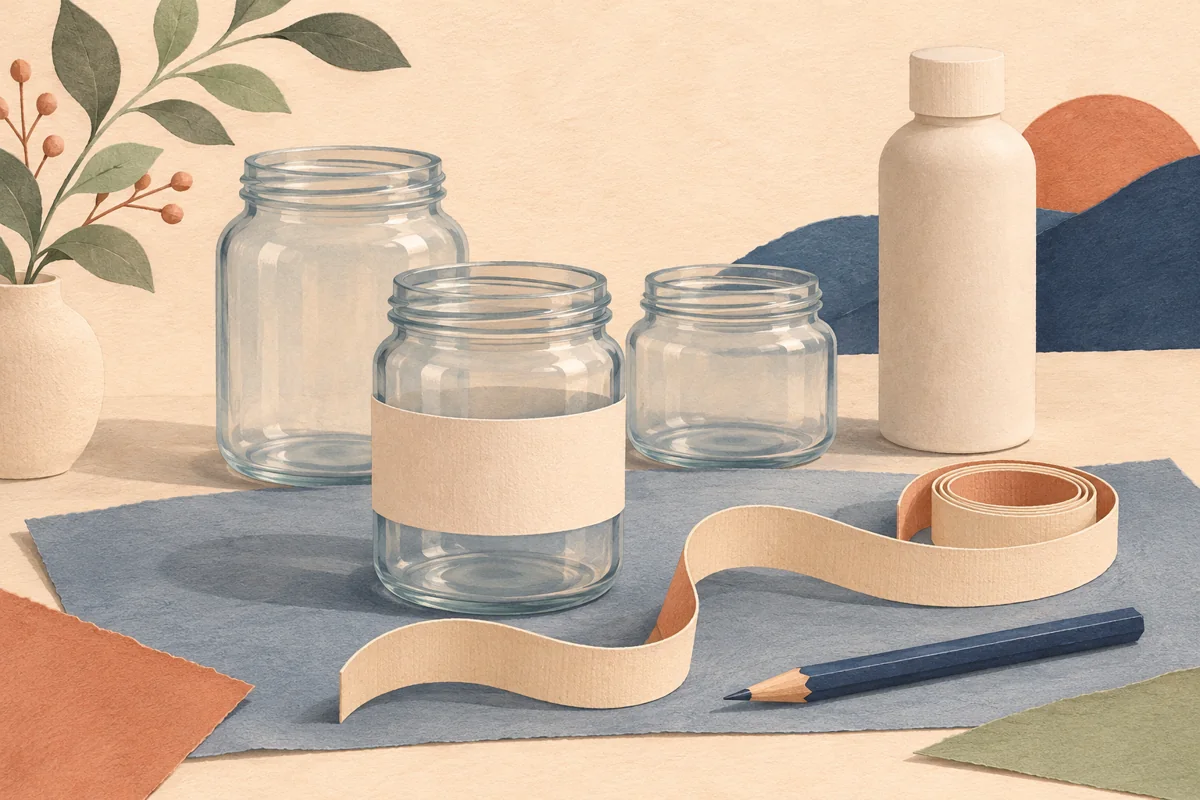
A sugar scrub label may get damp just when a buyer needs to read it. They might pick the jar up beside a sink or distinguish two scents with wet hands. Plan the visible words and label position around that routine, then check the printed sample under the conditions the jar will encounter.
01
Put the product and scent where they stay visible
Look at the closed jar in its likely storage position. A front label works well when the side faces the shopper, while a lid can help when jars sit below eye level. Keep the product type and scent easy to distinguish in the view you rely on.
If a clear jar shows textured or colored scrub behind transparent lettering, test the filled and partly empty appearance. An opaque block behind small text can keep the contrast more predictable. Reserve room for directions and the other information needed for the actual product.
02
Ask the supplier about the complete print
Share the container material, surface finish and expected use with the label supplier. Say whether you print at home or order finished labels. Ask which ink or coating and adhesive it recommends for that combination. A glossy appearance alone gives little information about performance.
Check where product collects during opening. If the shape allows, place the top edge below that area and keep the label on the smooth wall. Open and close a paper-proved jar to find the usual grip points before choosing the final width.
03
Run a comparison that reveals what failed
Apply two stock samples to matching clean, dry jars and follow the supplier’s timing instructions. Mark them A and B on the underside and keep an untouched reference. Handle the samples with damp hands, using the sort of contact expected during ordinary use.
If the formula can reach the outside, try a small amount on a sample and clean it as you normally would. Record whether the ink smears, an edge lifts or the words become harder to see. Comparing these separately helps you request a useful change instead of replacing the entire design.
| What you observe | What to discuss or test next |
|---|---|
| Print smears but edges hold | Ink compatibility or protective finish |
| Edge lifts but print stays clear | Adhesive suitability and label position |
| Words lose contrast when damp | An opaque background or stronger lettering |
04
Keep an approved sample for reorders
Record the label stock, ink process, finish, jar material and file name. Keep a photo of the handled proof beside the untouched one. That makes it easier to compare a later shipment or explain a problem to the supplier.
Repeat the check when switching container materials or printing methods. Proof the longest scent name alongside the shortest so the layout works across the range. Once approved, keep the main words in the same places to help buyers choose a variant quickly.
BEFORE YOUR NEXT STEP
Your practical checklist
- Check the jar in its usual viewing position.
- Confirm stock, ink and adhesive together.
- Compare handled samples with an untouched proof.
- Record the approved combination.
Questions & answers
Does a waterproof label always resist oil?+
Ask the supplier about both forms of contact and test the finished print with your container and formula.
Should the label go on the lid?+
Compare it with a side panel using the viewing angle and grip points. The two areas can carry different information.
Sources & further reading
Official references for the technical points in this guide. Check current specifications before production.