A wide body butter jar offers plenty of lid space and very little height on the side. That creates two different views to design for. A shopper may see the front when the jar is on a shelf, then look down at the lid when it is arranged in a display tray or gift box.
01
Find the usable surface on the jar and lid
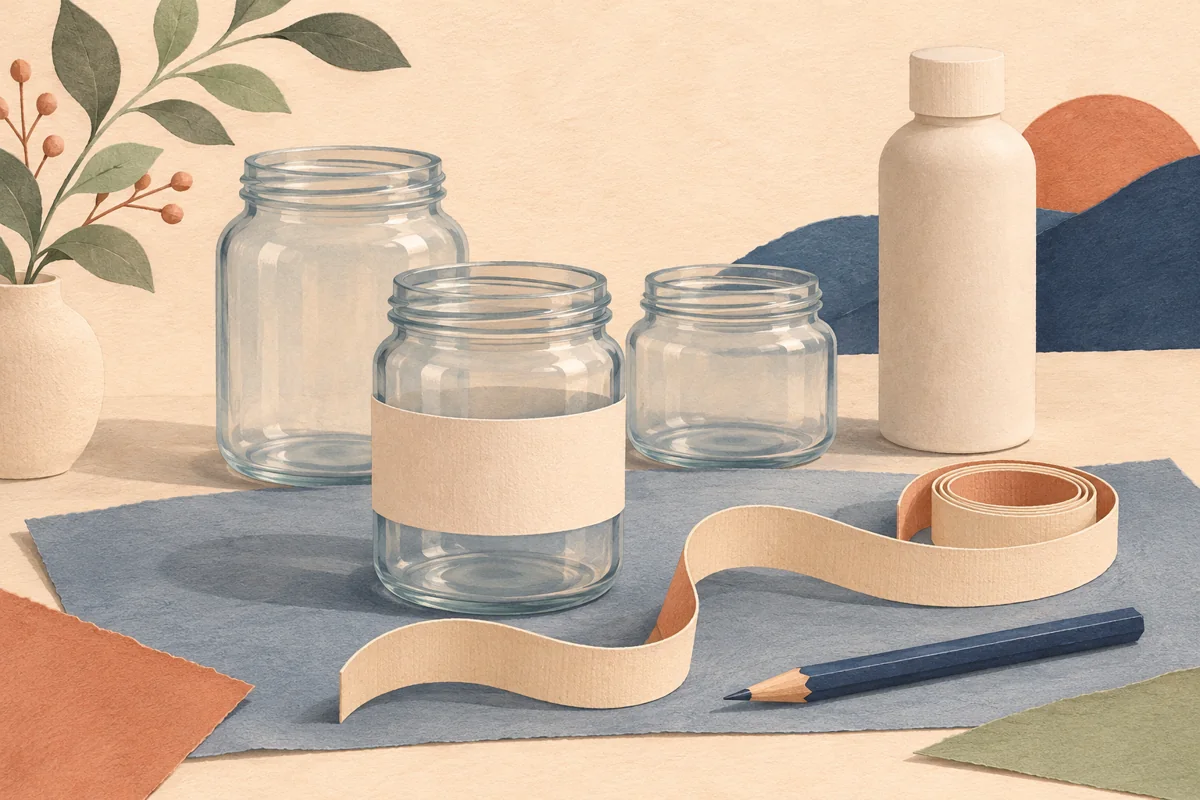
Wrap a plain paper strip around the straight part of the jar. Mark where the shoulder curves toward the lid and where the base rounds away. Keep the first side-label proof between those marks. If the jar tapers, compare a smaller front panel with a wrap before asking a printer to check the shape.
Measure the lid’s flat inset separately from its outer diameter. For example, a 64 mm lid might have a 58 mm inset. Try 55 and 56 mm paper circles inside that sample and compare how they sit. These trial numbers demonstrate the process. Measure the actual lid you will use.
02
Assign a purpose to each viewing angle
Give the front enough information to distinguish the product when jars sit beside one another. If the sidewall is very short, lead with the product type and scent and use a supporting panel for the remaining details. Check the information required for the finished product in your market.
Repeat the same identity on the lid if buyers choose from above. Use consistent placement for scent names across the range, then check the longest name. If it wraps awkwardly, revise the text block or name before making the type much smaller.
| Package surface | Question for the paper proof |
|---|---|
| Lid inset | Does the circle stay flat and read from above? |
| Front sidewall | Can someone recognize the product on a shelf? |
| Supporting panel | Can the buyer find and read the remaining details? |
03
Check the points a hand touches
Apply stock samples to clean, dry containers using the supplier’s instructions. Open and close the filled sample and watch where fingers grip the side. If the label edge sits directly under a thumb, compare a slightly narrower or lower panel.
Tell the supplier the jar material and likely contact with moisture or oils. Ask about the complete label construction, including ink, finish and adhesive. Keep an untouched reference and compare it with the handled sample so you can see whether the print, edge or contrast needs attention.
04
Approve both panels as one package
Print the lid and side proofs together. Check that the product name, scent and size agree across all pieces. Photograph the jar from the front and above, using the same backgrounds as your listings. Small lettering that works in your hand may disappear in a thumbnail.
Save the approved artwork with the jar model, lid specification and photos of the finished pair. Run a fresh fit check if you change the container supplier or package shape. Similar capacity does not guarantee the same sidewall height or lid diameter.
BEFORE YOUR NEXT STEP
Your practical checklist
- Measure the lid inset and straight sidewall.
- Check front and overhead views.
- Compare handled stock with a reference.
- Approve all panels together.
Questions & answers
Can every detail go on the lid?+
Check readability and the labeling rules for your product and market. A side panel or outer pack may provide useful space.
Can one size work across different jars?+
Measure each model before choosing. Jars with similar capacity can have different lid and wall dimensions.
Sources & further reading
Official references for the technical points in this guide. Check current specifications before production.