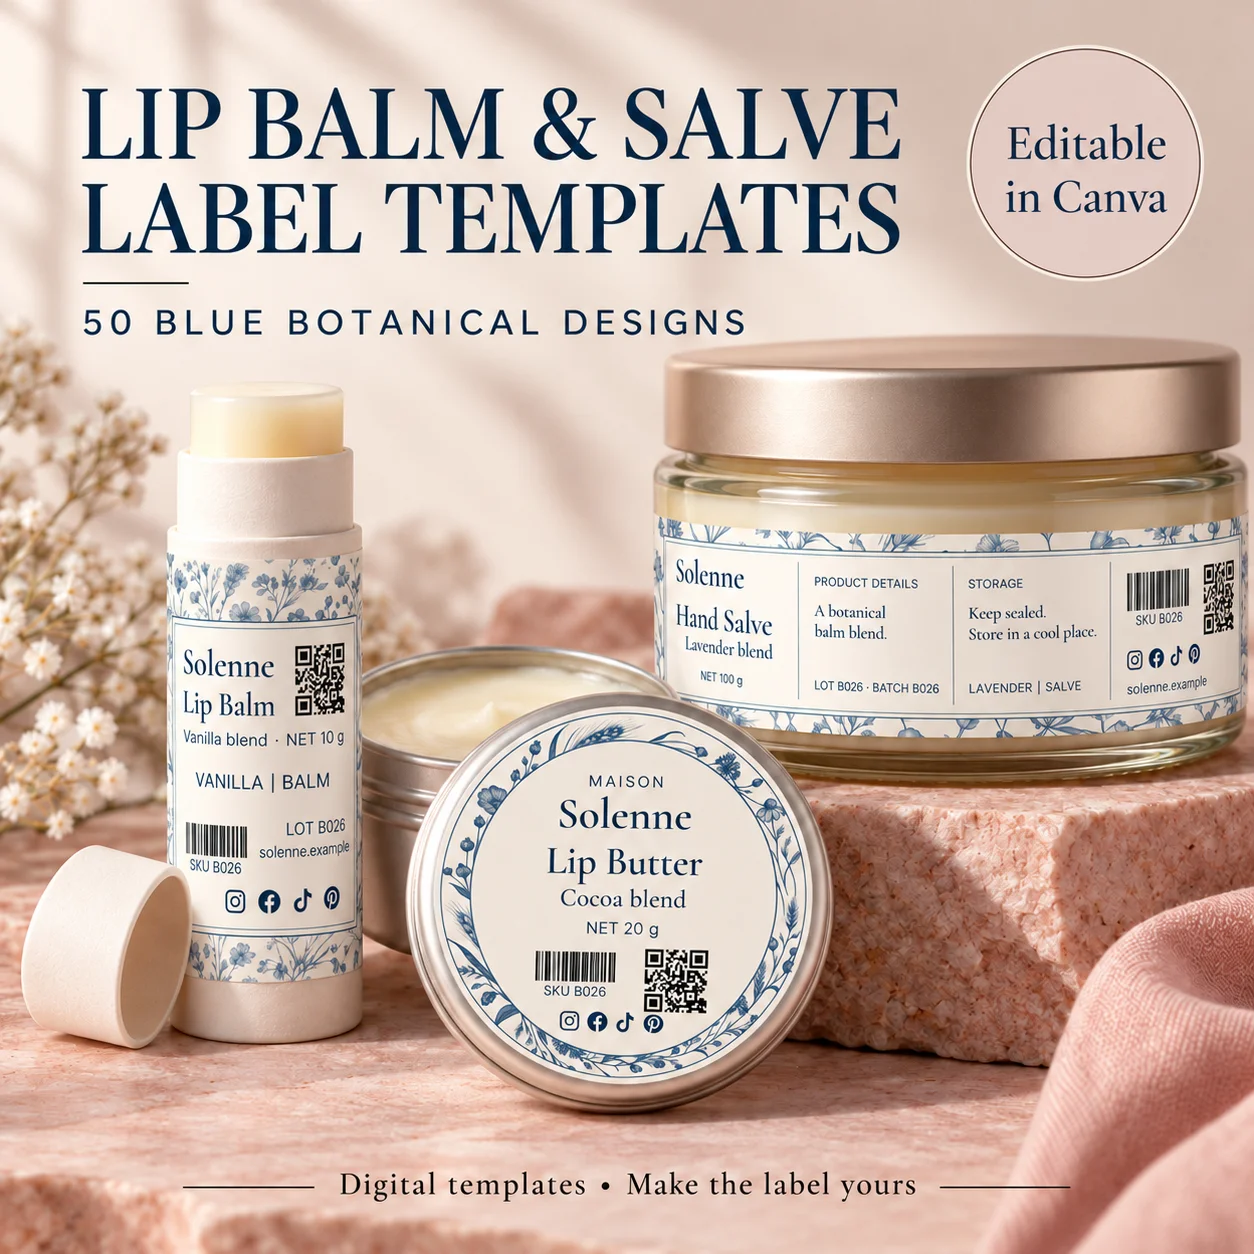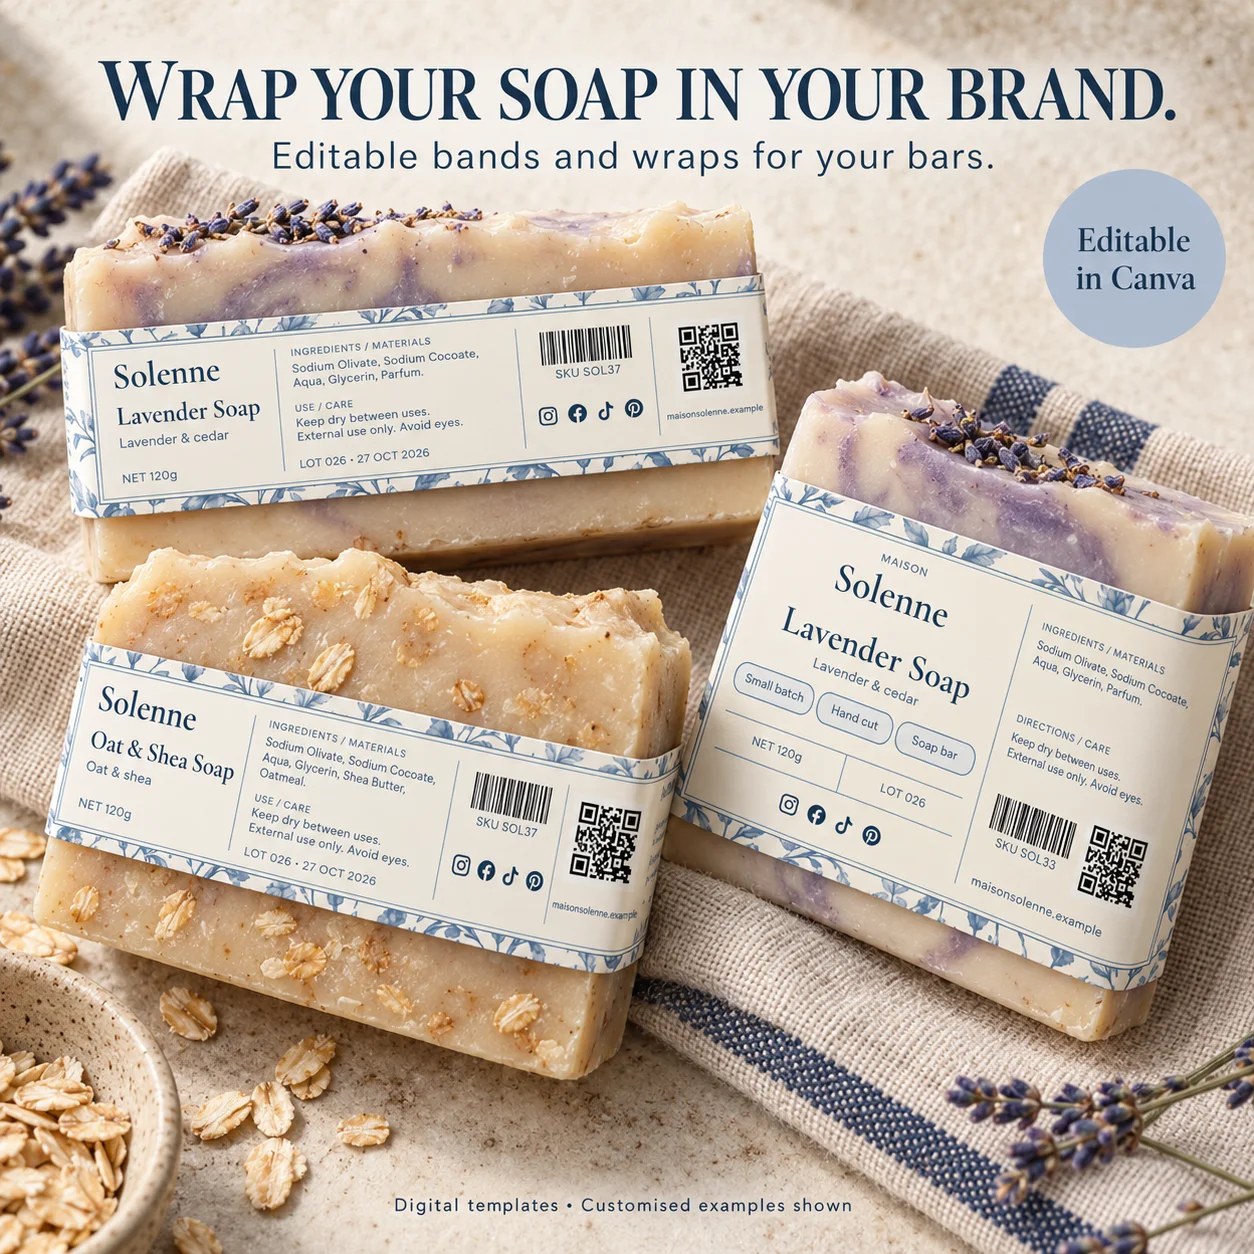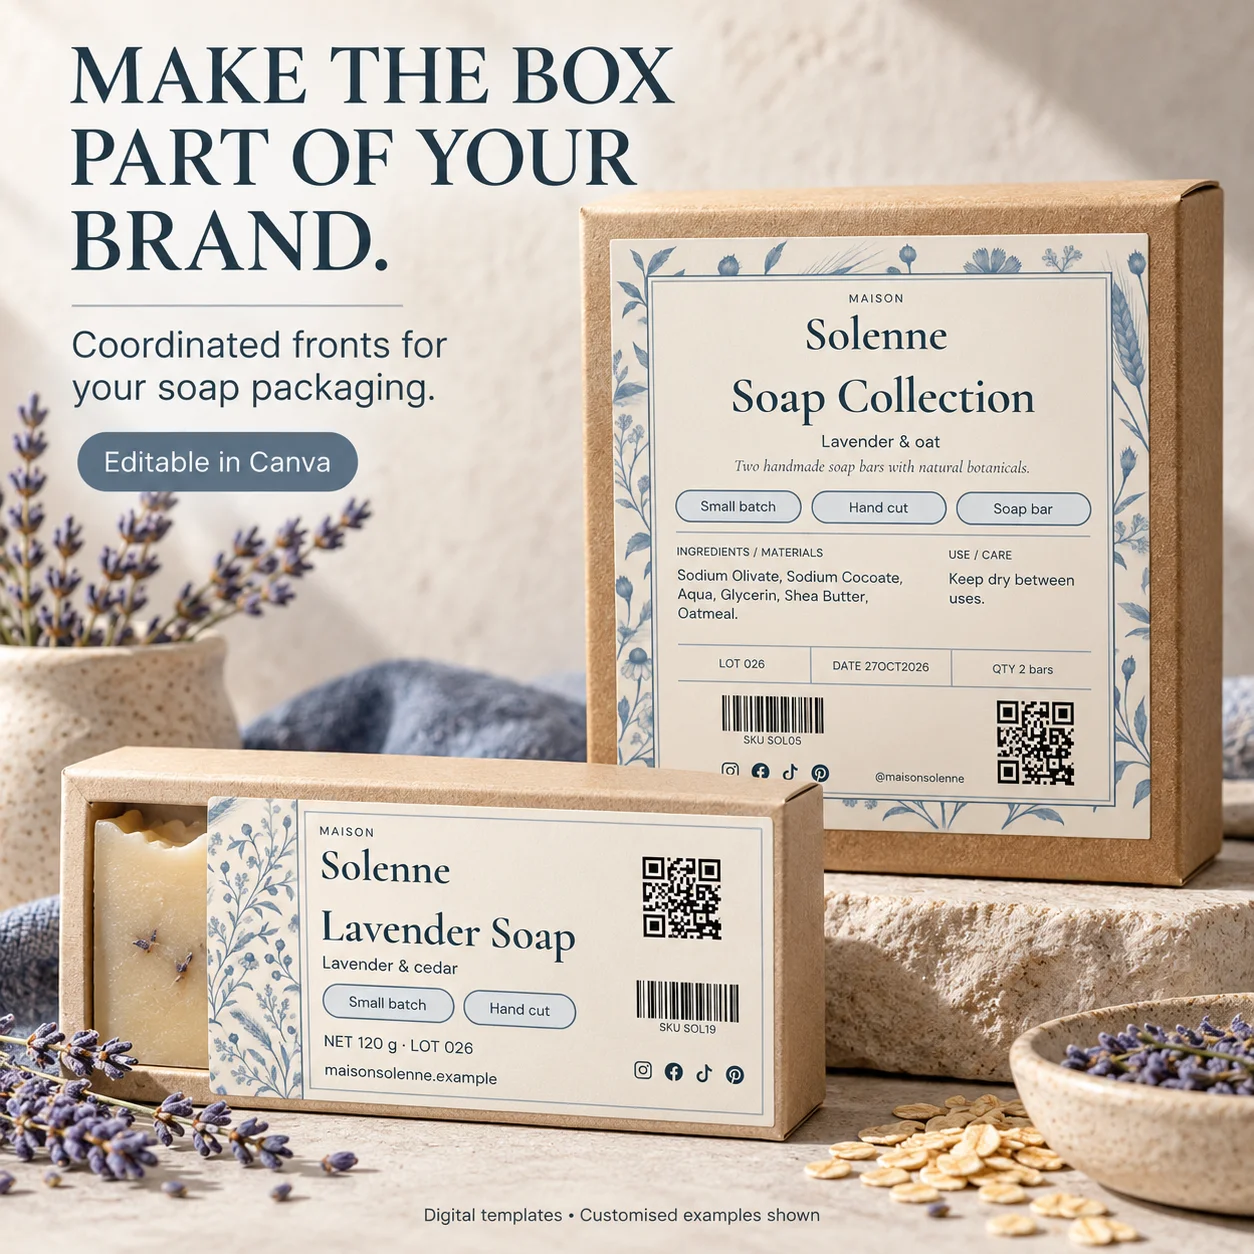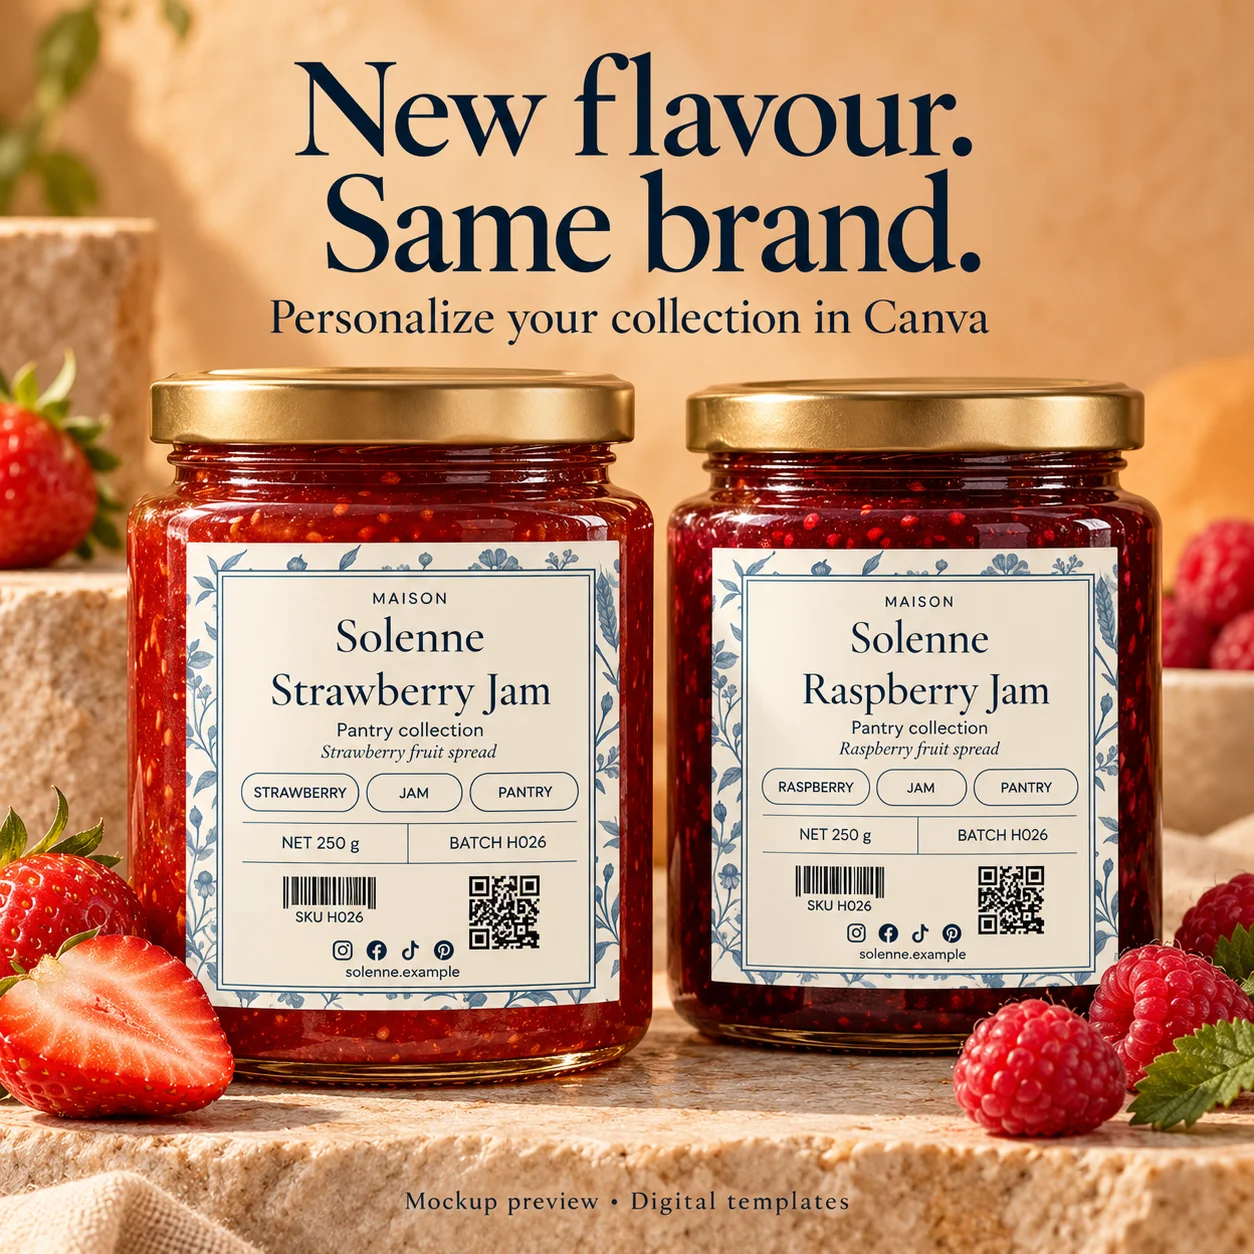
A container described as 8 ounces does not tell you the size of label it needs. The useful measurement is the smooth area where the artwork will sit. Before ordering paper or editing a design, make a paper mockup. It is a quick way to see how the label meets the real package, especially around shoulders, seams and curved bottoms.
01
Find the usable surface
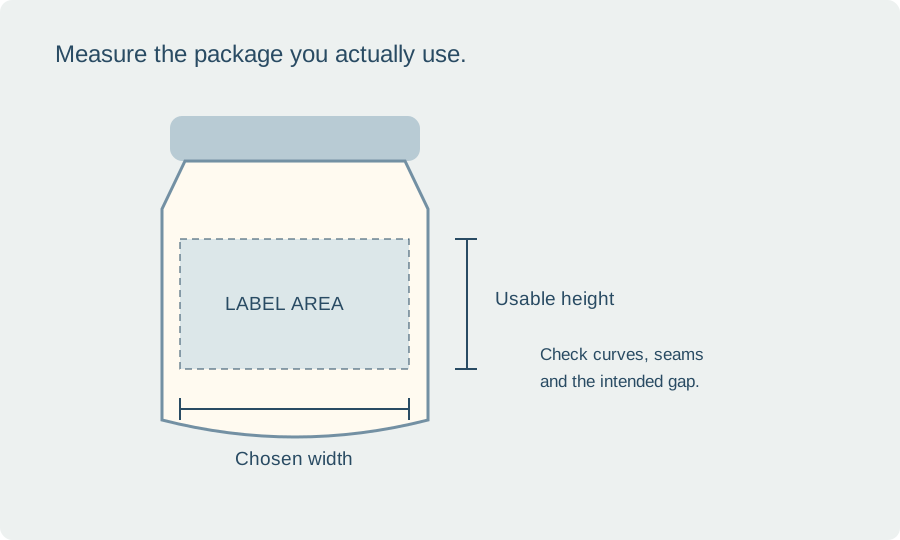
Look at the container from the side. Identify where its wall begins to curve into a shoulder or base, and note any embossed marks, ribs or seams. The total height is less useful than the uninterrupted area where a label can lie comfortably.
Hold the package the way a customer will. Check where fingers land and whether a lid or sleeve covers part of the intended label. Mark the top and bottom limits on a paper strip rather than writing directly on a finished product. Measure more than one container if your supply varies.
02
Measure a front label
Cut a paper rectangle that roughly matches the front area you want to use. Tape it lightly in place for the test and look at the package from the normal viewing angle. If its edges disappear too far around the sides, narrow it until the front information can be seen together.
Then measure the paper width and height on a flat surface. Record both measurements and the unit. A note that says 2 × 3 is incomplete unless you also know whether the numbers are inches or centimeters and which dimension is the width.
03
Measure a wrap label
Wrap a flexible tape or a strip of paper around the exact height where the wrap will sit. Mark the meeting point and measure the strip flat. Choose a gap or overlap according to your design and label supplier’s advice. A measurement taken nearer a tapered shoulder may not work lower down.
For a truly cylindrical surface, circumference is approximately diameter multiplied by π. For example, a 6 cm diameter suggests about 18.85 cm around. That is a calculation example, not a recommended finished label width: the seam treatment, actual shape and application tolerance still need checking.
04
Treat tapered containers differently
A straight rectangle can wrinkle when the top and bottom edges are trying to cover different circumferences. If a paper wrap shows that problem, do not solve it by pulling the real label tighter. Reduce the label area or ask a print supplier about a shape designed for the taper.
Use a paper test to compare a smaller front label with a longer wrap. The smaller label may leave room for the package shape while presenting the product name more clearly. Choose the format that works on the container rather than forcing a favorite template into an unsuitable shape.
05
Check lids and keep a sizing record
For a round lid label, measure the flat top area rather than the outside edge of the lid. A raised rim or textured area can reduce the usable diameter. Test a cut-paper circle and check how it looks with the main label when both are applied.
Save a small sizing sheet for every package: supplier, container code, usable area, selected label size and a photo of the approved paper test. Include the artwork version and intended material. This is particularly helpful when the same design family appears on jars, bottles and outer cartons with different dimensions.
BEFORE YOUR NEXT STEP
Your practical checklist
- Measure the actual package, not its capacity.
- Keep labels within the usable surface.
- Record width, height, unit and seam treatment.
- Approve a paper mockup and then a printed sample.
Questions & answers
Can I use one label size on every 8-ounce jar?+
No. Capacity does not define the usable label area. Measure each container model and compare the shape as well as the dimensions.
Should the label touch the jar’s top and bottom curves?+
Usually it is easier to apply a label within the smooth straight section. Use the material supplier’s guidance and a real-package test to decide the final placement.
Sources & further reading
Official references for the technical points in this guide. Check current specifications before production.