Cookie packaging often needs to do two things at once: show the product and present a recognisable brand. A large sticker can hide the decorated cookie that made the package appealing, while a tiny seal may have no room for a readable product name. The answer is not one universal shape. It is a deliberate choice about which surface carries identity, which carries supporting information and how the package closes. Work with your actual filled bags and boxes, and use separately approved product wording for every item.
01
Start with the filled package and its closure
Arrange the cookies in the packaging format you intend to sell. Close the bag or box as it will leave your packing table, then identify the flat surfaces available for labels. A label placed across the middle of a loose bag may crease differently from one on a firm folded header. Test both before committing to a format.
Check where fingers hold the package and whether a ribbon, clip or box flap obscures the design. If a sticker is meant to help close the package, assess that function separately with the supplier; a decorative label is not automatically an effective seal. Record its intended location and finished dimensions so the same arrangement can be reproduced.
02
Balance visibility with a clear product name
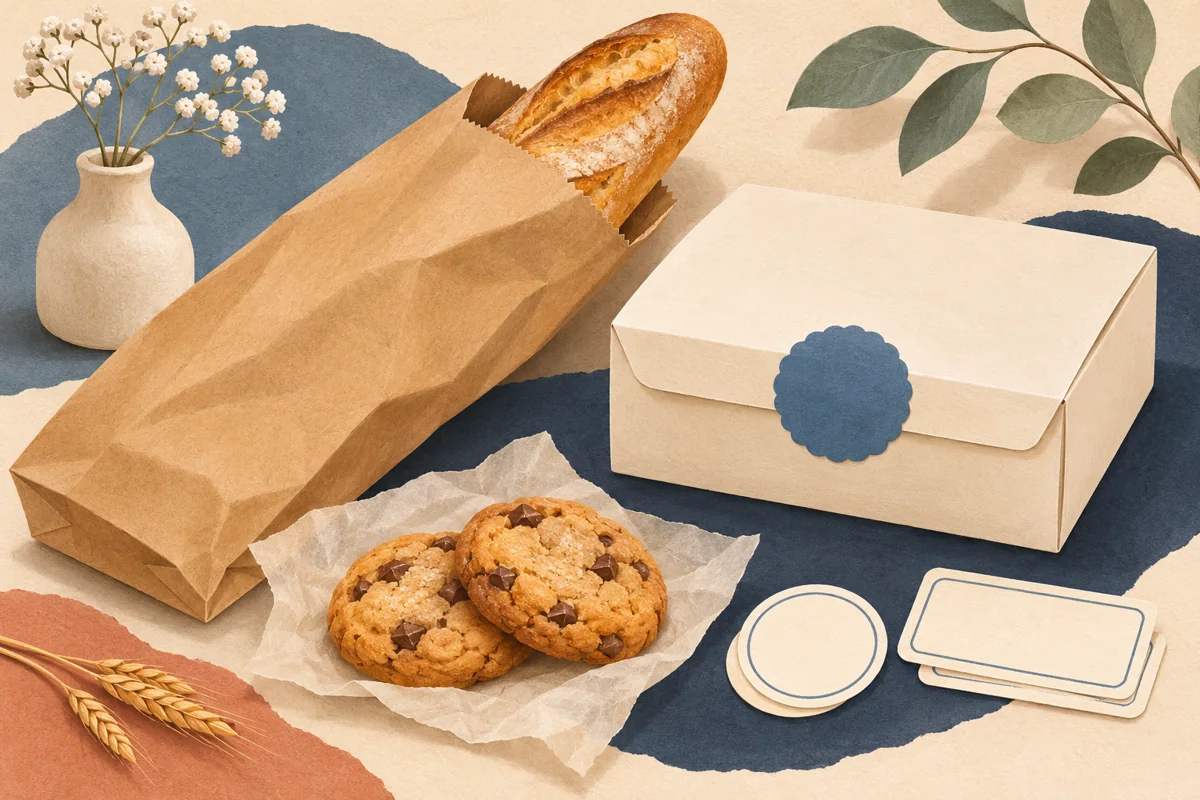
Decide what needs to stay visible through the bag or window. A small brand seal near the top may leave decorated surfaces clear, while a front rectangle can be useful for a product that is harder to recognise. The design should help the customer understand the package rather than forcing them to choose between seeing the cookie and reading its identity.
For a hypothetical duo, compare a clear bag containing a decorated vanilla cookie with a box of assorted shortbread. The clear bag might use a restrained top label; the assortment may need a broader product-identity panel on the box. Keep the brand type and artwork consistent, but do not insist on identical sticker dimensions for two different presentation jobs.
03
Handle flavours and assortments without confusing the range
Use readable variety names and a consistent visual hierarchy. If you use colour cues, pair them with text so the distinction does not depend on a colour alone. Check that the shortest and longest names both fit the master. A small product code can help your packing team, but it should not replace a name a shopper can understand.
Keep the approved product information for an assortment separate from the information for individual cookies. A gift box with several items may need different wording from a single-product bag. Ask the responsible reviewer how to present that information for your product and market; do not simply duplicate one flavour's label onto every mixed package because the artwork matches.
04
Prepare a practical print setup
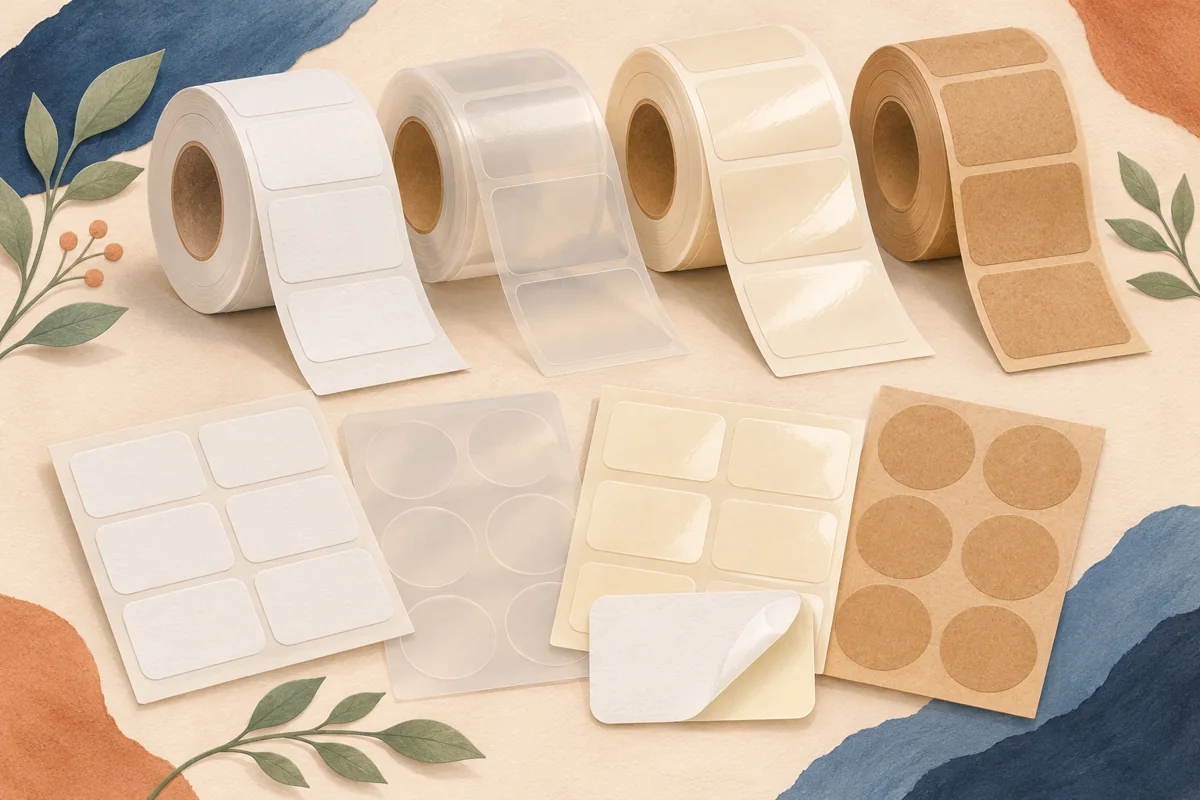
Confirm the bag or box surface with your label supplier and ask which material and adhesive suit the intended use. For clear labels, ask how the print process handles white areas; do not assume a white-looking Canva background will print as opaque white on transparent stock. A plain paper proof cannot reproduce every feature of the finished material.
For home printing, match the file to the exact label sheet and printer type. Check page size and actual-size output, then compare a plain-paper proof with the unused sheet before trying adhesive stock. For a professional order, follow the printer's bleed, safe-area and export instructions. Keep essential wording comfortably away from the cut edge, especially on small round seals.
05
Proof a realistic order before scaling up
Prepare a small presentation test containing a single cookie, a multi-cookie bag and an assortment box if those formats are in your range. Read the labels in ordinary light and photograph them at the size they will appear in an online listing. Check that packaging reflections or a folded top do not hide the product name.
Make a packing reference showing which label belongs on each format. Include the artwork revision, stock and approved text source in your files. When an order needs a decorative gift message, add it in a controlled duplicate rather than altering the main product master. This keeps personalisation from overwriting the label used for everyday stock.
BEFORE YOUR NEXT STEP
Your practical checklist
- Test labels on closed, filled packages.
- Choose how much of the cookie presentation stays visible.
- Identify varieties in readable text as well as colour.
- Use separately approved wording for assortments.
- Confirm clear-stock printing details with the supplier.
Questions & answers
Are round stickers best for cookie bags?+
Round stickers can suit a short brand seal, but they are not automatically best for a long product name or supporting information. Choose the shape by its job and proof it on the actual filled bag.
Can I print a clear cookie-bag label on any printer?+
No. The blank stock must match the printer, and the intended opacity depends on the print process. Confirm compatibility and any white-ink requirements with the supplier before ordering.
Sources & further reading
Official references for the technical points in this guide. Check current specifications before production.