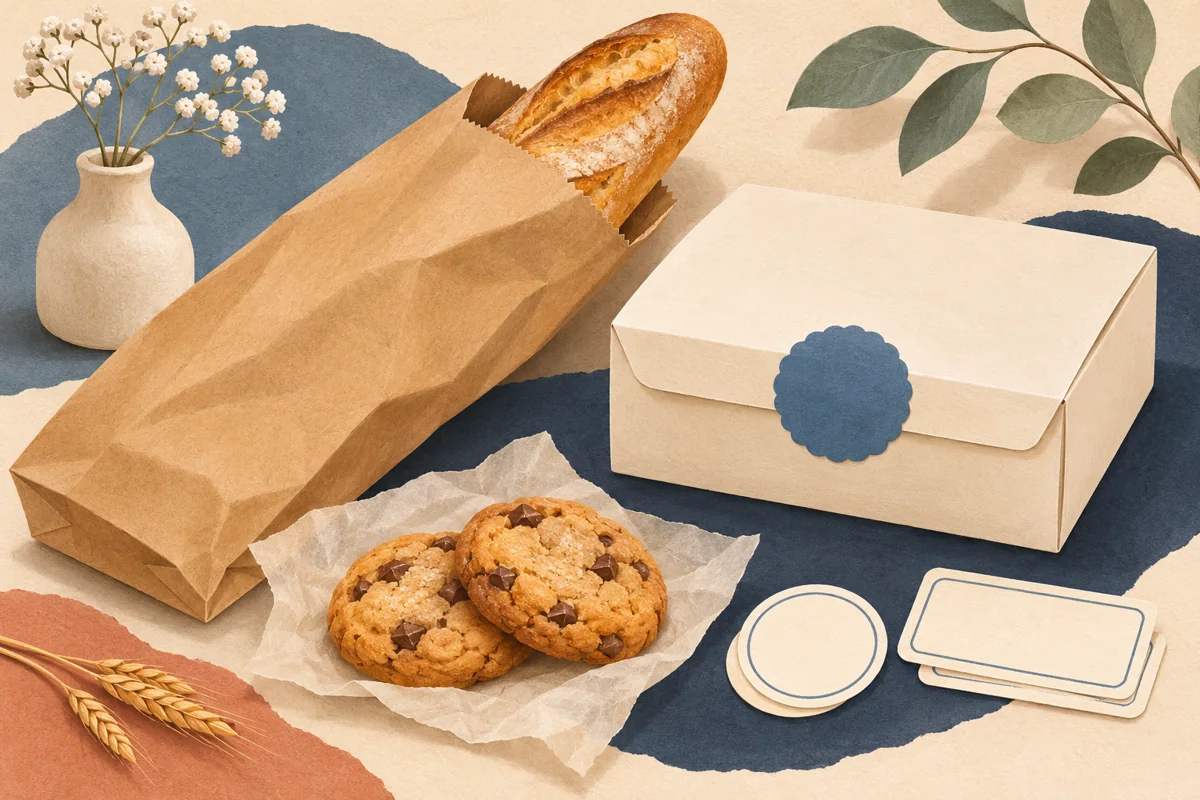
Cake boxes have several competing design surfaces: a lid, a front panel, side walls and sometimes a clear window. A sticker can introduce your bakery, carry a decorative message or form part of a closure, but those uses need different layouts. Start by deciding what the label is supposed to accomplish. Then test the box fully assembled, including its opening and carrying routine. This guide covers presentation and artwork organisation rather than food information, packaging safety or instructions for transporting a particular cake.
01
Choose between a brand sticker, message and information panel
Write down the purpose of each label before selecting its shape. A small round brand sticker may work on a lid, a rectangular panel can hold more wording and a decorative message can occupy a separate card or sticker. Combining every purpose into one small seal often produces crowded type and unclear priorities.
For a hypothetical birthday order, the bakery identity could remain on a reusable master while a separate decorative label says Happy Birthday, Amira. That message should not replace other approved product information needed for the order. Separating those jobs also prevents a personalised design from being accidentally reused on a standard cake box the following morning.
02
Measure the box with the lid and window in place
Assemble the exact box, including inserts or supports that affect its final shape. Identify flat panels and note the window edge, folds, opening tab and any handles. Place paper labels in the proposed positions. Open and close the box to check whether a lid lip or overlap hides part of the artwork.
A sticker that sits neatly on a flat dieline may bridge an awkward corner on the finished box. If you want a label to cross two surfaces, test that arrangement deliberately and discuss its intended function with the supplier. Do not assume decorative adhesive makes a package tamper-evident, secure for carrying or appropriate for another performance claim.
03
Build a controlled personalisation area
Create a clear text area for optional names or occasion messages while keeping the permanent brand elements in place. Decide the longest message you can accommodate at a readable size. It is more reliable to offer a sensible line break or shorter wording than to shrink the type until it becomes difficult to read.
Test two fictional examples: Congratulations, Lina and Happy 50th Birthday, Youssef. Compare the visual balance at actual size. A name with several narrow letters can fit differently from one with broad letters even at the same character count. Keep a final spelling approval step and export each personalised order with its own reference instead of overwriting the generic template.
04
Check stock, printing and panel contrast
Ask the packaging and label suppliers which construction suits the coated or uncoated surface and expected handling. Test the label on the real box finish. Some papers absorb or reflect light differently, and a cream decorative design can lose contrast against a similar-coloured carton. The goal is legible identity, not simply matching two shades on a monitor.
Use the correct label-sheet layout for home printing and confirm actual-size output. For professional printing, supply the required file with the printer's specified bleed and safe area. Keep essential wording away from the trim edge and place decorative borders with enough breathing room that small cutting differences do not make the label look visibly uneven.
05
Approve a complete packing example
Prepare one assembled box with all intended labels and any separate message card. Check that the brand is visible when the package is carried or placed on a table. Photograph the front and lid, then review whether an online customer can recognise the bakery without needing to enlarge every detail. Check the spelling and product reference again before releasing the export.
Make a short packing guide showing the chosen panel and label orientation. Save a plain brand master, a personalisation master and order-specific print exports in separate folders. When the box size changes, repeat the paper mockup rather than scaling the entire design automatically. The same brand can remain consistent across small and large boxes with adjusted spacing and proportions.
BEFORE YOUR NEXT STEP
Your practical checklist
- Define each sticker’s purpose before designing it.
- Test the assembled lid, window, folds and handles.
- Separate decorative messages from approved product information.
- Check personalisation spelling and line breaks at actual size.
- Save order-specific files without overwriting the master.
Questions & answers
Can a cake-box sticker double as a seal?+
It may be designed to cross a closure, but its suitability depends on the actual box, adhesive and intended function. Ask the supplier and do not make security or tamper-evidence claims from appearance alone.
Do I need a different design for each cake-box size?+
You can retain the same visual system, but review dimensions and spacing for every format. Scaling a complete label can make text too small or bring it too close to panel edges.
Sources & further reading
Official references for the technical points in this guide. Check current specifications before production.