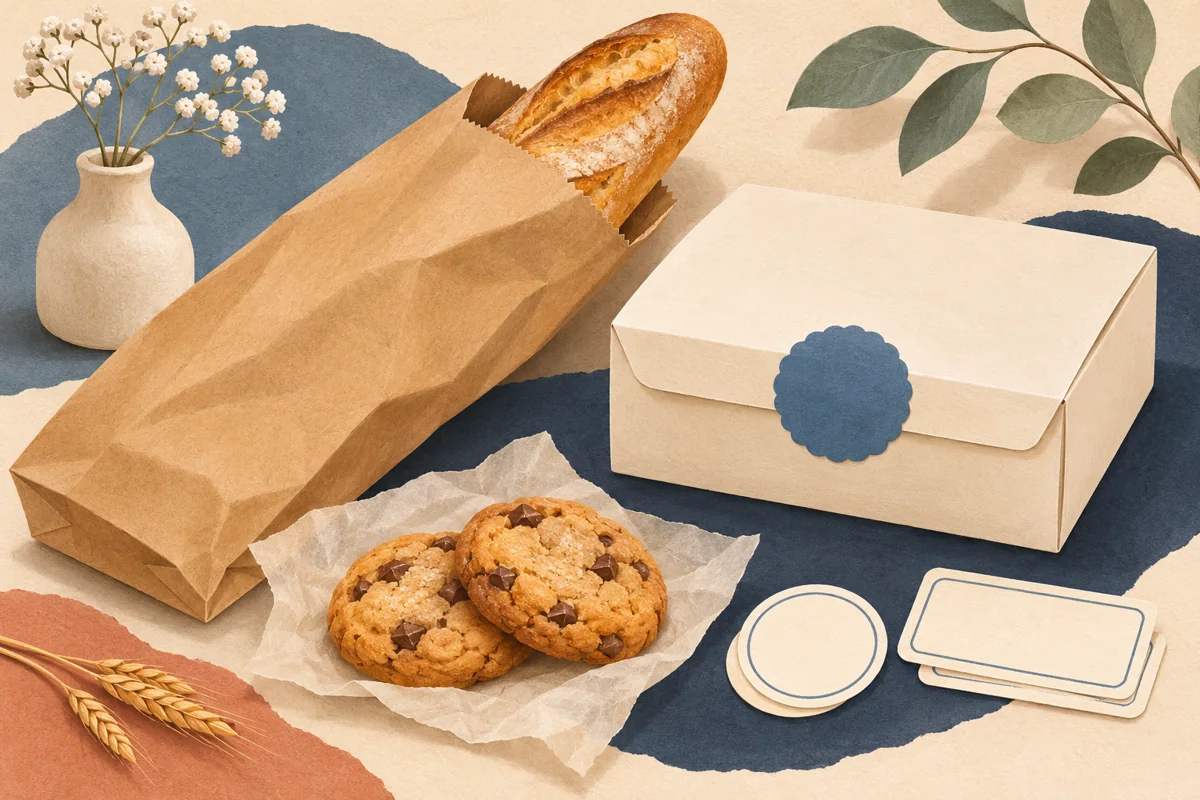
A bakery may need to label a paper bread bag in the morning, a clear cookie pouch at lunchtime and a cake box before an afternoon collection. The brand can look consistent across all three without forcing one sticker to do every job. Start by deciding how each package is filled, carried and opened. Then create a small family of layouts with recognisable type and space for the wording each product needs. This is a packaging-design workflow, not advice about food-label requirements or the suitability of a package for direct food contact.
01
Audit the packaging formats you actually use
Lay out a bread bag, pastry box, cake box and any other regular format. Note where the package folds, how it is closed and which surface faces the customer. Put a paper label in the proposed position and repeat the check after the package has been filled for presentation. A bag's fold can cover more of the design than expected.
Create a short format sheet recording usable width and height, package reference and preferred label placement. Separate a brand seal from a product-information label if they have different jobs. Avoid ordering a large range of sticker shapes before learning which two or three formats fit most of your daily orders.
02
Use a common hierarchy across different shapes
Keep the brand name, product identity and variable detail in recognisable positions. A circular seal may need only a short identity, while a rectangle can give a longer product name more room. A consistent type family and restrained artwork can connect both without repeating every decorative element at every size.
For a fictional bakery, a small seal could carry the bakery name and a short greeting, while a wider label identifies Country Sourdough or Lemon Celebration Cake. Those are layout examples, not a complete food label. Try the longest product name and any separately approved supporting content before locking the design. Do not let a flourished logo consume the entire available information area.
03
Plan variable product wording outside the design file
Maintain an approved text record for each product and pack format. Include the exact product name and the other wording your responsible food-label reviewer has approved. When a recipe or supplier changes, update that record before exporting new labels. Copying yesterday's design without checking the content can leave details from the wrong product on a new order.
Use a simple production reference to connect the editable file, exported label and intended package. For example, a filename can include the product, bag or box format and revision date. Keep customer-specific decorative messages separate from the core product information so a personalised cake order does not accidentally become the master used for every future cake.
04
Match the sticker to its packaging job
Ask the label and packaging suppliers about the exact surfaces and expected handling. Paper bags, coated boxes and clear pouches may need different constructions. Use stock approved for the relevant application and do not infer direct-food-contact suitability from the word paper or from a natural-looking finish. Keep decorative labels on the intended package surface.
If you print in-house, check printer compatibility and use the exact sheet template. A4 and US Letter are different page formats, and similar-looking precut labels can have different gaps. For commercial printing, follow the supplier's required file, bleed and safe area. Proof a filled package before ordering enough labels for an entire seasonal range.
05
Make the system fast enough for a busy packing table
Imagine a sample morning with three sourdough bags, two cookie boxes and one cake order. Put the approved labels beside the matching packages before applying them. Can the person packing tell each product apart from the label alone? Can they find the correct revision without opening several almost-identical files? If not, improve naming and sorting before adding more designs.
Store approved masters in a protected folder and work from duplicates for new variants. Keep a printed reference board showing each label on its package. A small, documented system is easier to repeat than a large folder of decorative alternatives. Review it when your packaging range or product information changes, rather than redesigning every item independently.
BEFORE YOUR NEXT STEP
Your practical checklist
- Measure bags and boxes after presentation filling.
- Separate decorative seals from longer information labels.
- Use an approved wording record for each bakery product.
- Confirm stock suitability with the relevant suppliers.
- Keep labelled packaging examples and versioned print files.
Questions & answers
Should every bakery product use the same label size?+
No. Use a coordinated design system with dimensions appropriate to each package. A bread bag and a cake box can share typography and colours while using different shapes.
Does an editable bakery template include everything needed to sell food?+
No decorative template can establish that. Review the actual product information and packaging with an appropriate qualified adviser for your market, then adapt the design to the approved content.
Sources & further reading
Official references for the technical points in this guide. Check current specifications before production.