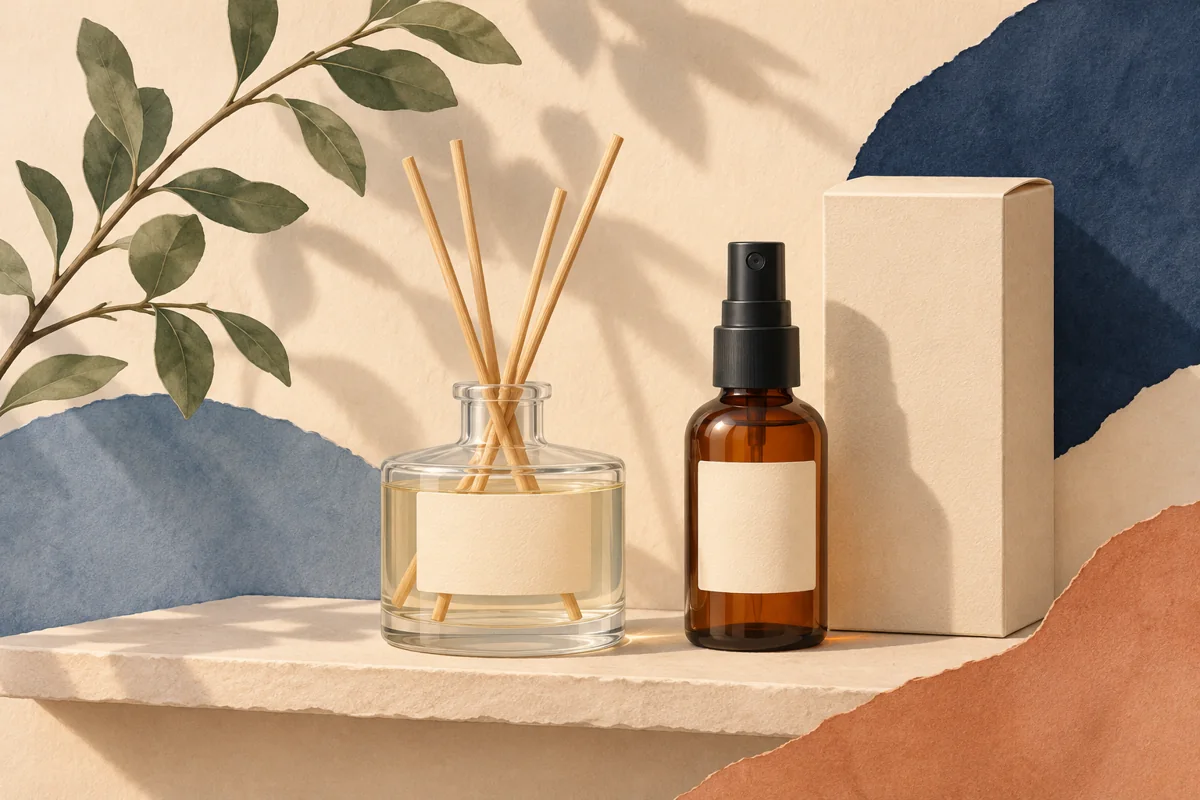
A room-spray bottle presents a design challenge: the front can be narrow, the shoulder may curve quickly, and the spray mechanism changes the proportions of the finished package. The same artwork that looks generous in a flat Canva document may seem cramped once wrapped around glass. Start with the assembled bottle and its cap or trigger. Then plan the label as a small information system, with a recognisable front and a realistic place for supporting content. The following is a design workflow, not a product-safety or regulatory specification.
01
Measure below the shoulder and above the base curve
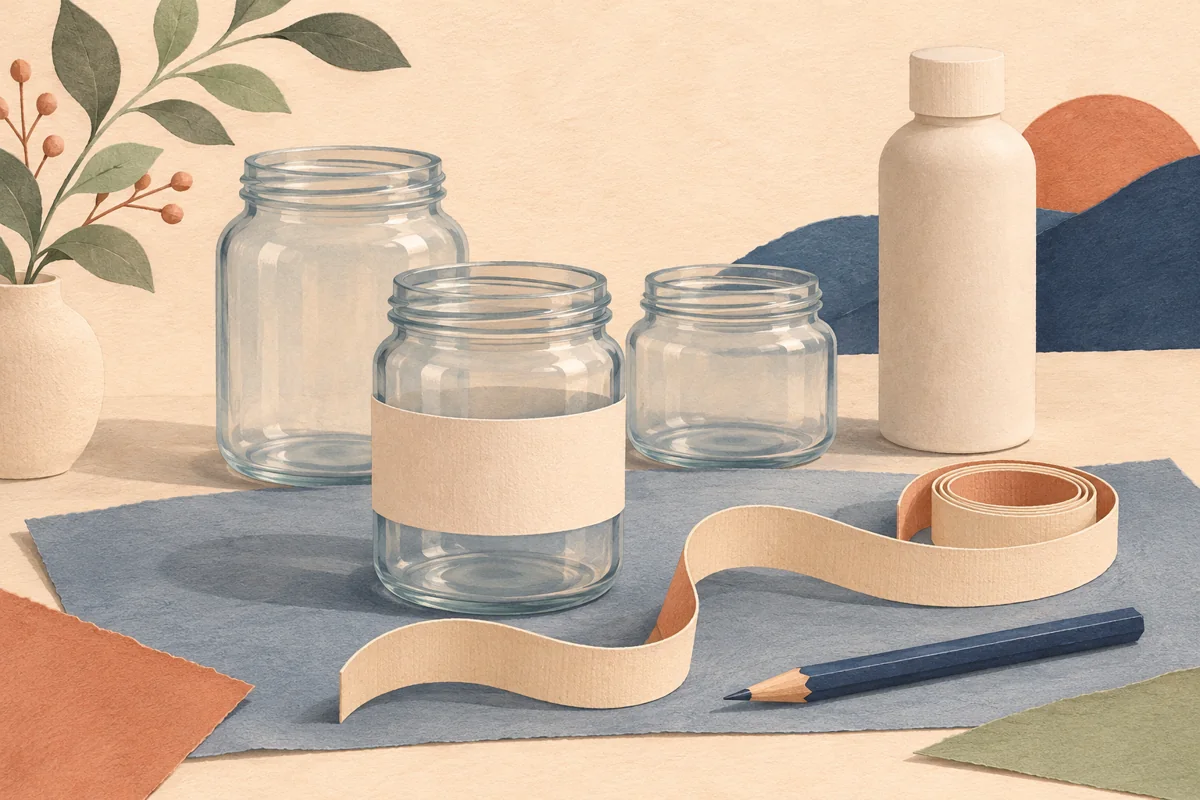
Set the bottle upright with its intended spray fitting. Identify the smooth, straight-sided section where a label can sit without bridging a curve. Wrap a paper strip around that height and check the proposed width from the normal front view. On a narrow bottle, a wide label may hide its own text around the sides.
Write down finished width and height, the bottle reference and the intended front position. Mark which side faces the customer when the trigger or cap is aligned. This helps keep photographs and production consistent. A bottle's stated capacity is useful for ordering containers but cannot replace a physical label measurement.
02
Make product identity obvious
A scent name alone may not tell someone what the product is. Give the product type a clear place in the front layout, alongside the brand and fragrance name. Use a type hierarchy that remains readable when the bottle is photographed at a modest size. Avoid filling the front with decorative words while the actual product identity becomes a footnote.
For a fictional range called Still House, a practical front hierarchy could be brand, room spray, then scent. Test a short scent name such as Cedar beside a longer name such as Neroli and Soft Woods. Keep the same overall text area for both. Change the wording naturally rather than stretching text or abbreviating names in ways that make the product harder to recognise.
03
Reserve a supporting panel before duplicating variants
Gather approved directions, product identification and other information from the person responsible for the formulation and market requirements. Plan the supporting panel around that content before you decide on a final decorative border. The space needed may influence whether the package uses a front-and-back pair, a wrap label or a box.
Keep a separate checklist of variable fields for each scent. The fragrance name on the front, the filename, any approved supporting text and the package reference should all correspond. Never copy a warning or instruction from another seller as a design shortcut. A template provides a layout; it does not establish what statements are correct for your specific spray.
04
Coordinate the box without repeating every detail
If the bottle has an outer box, give each surface a purpose. The front can introduce the range, while side or back panels carry approved supporting information and a clear product reference. Check that the box still identifies the item once the decorative bottle is hidden inside. A shared border or colour accent can connect the two formats.
Print the box panel at its real dimensions and fold a paper mockup. Inspect corners, opening flaps and any glued areas specified by the packaging supplier. Keep essential wording away from folds and trim lines. Follow the box printer's artwork requirements rather than applying a bottle-label file to a carton and hoping the production settings are interchangeable.
05
Proof handling and readability with supplier guidance
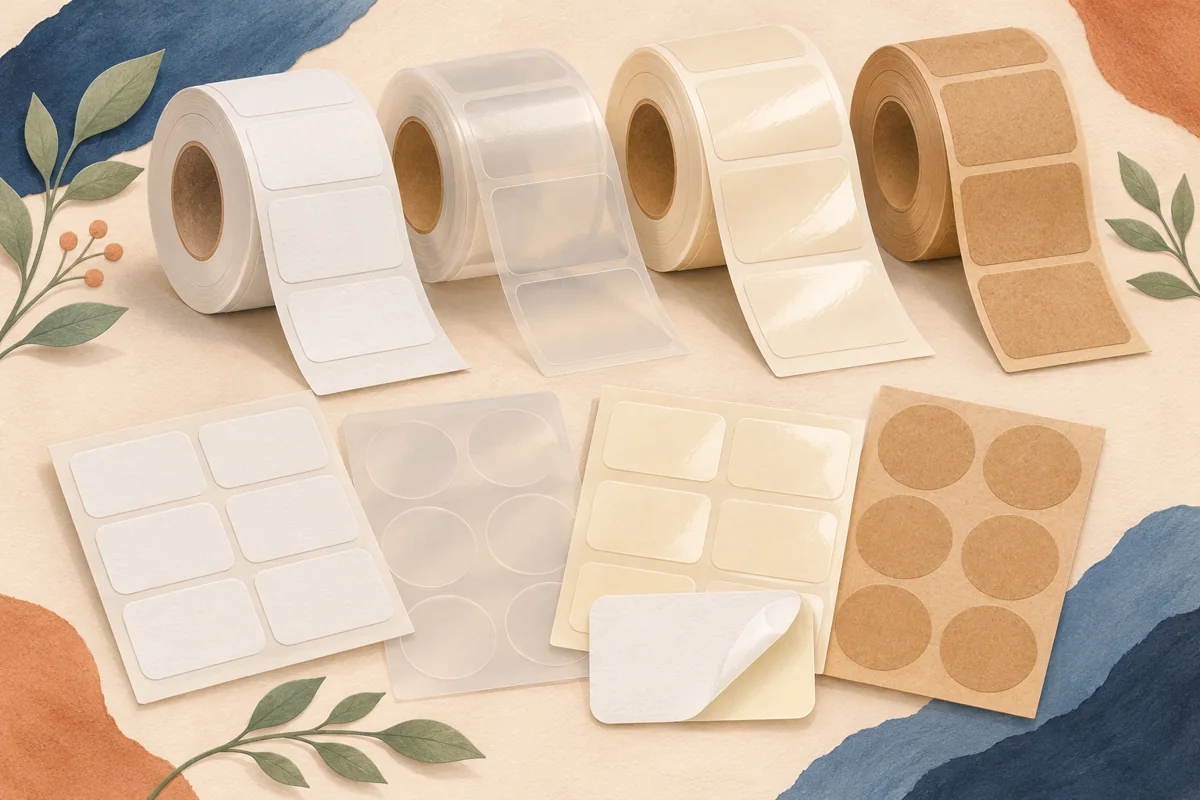
Tell the label supplier what surface and handling conditions the finished package will encounter, including any foreseeable contact with the product around the label. Ask for a suitable stock, adhesive and printing combination. Claims such as waterproof or resistant should come from the exact construction's specification, not from how glossy the finished sample looks.
Approve one assembled sample for each bottle format. Read the front and supporting panel, check spray-fitting orientation and photograph the package in ordinary light. Save the editable master, print export and approval notes together. When you change the bottle, paper or printer, review the result again instead of assuming a previous approval covers the new combination.
BEFORE YOUR NEXT STEP
Your practical checklist
- Measure the assembled bottle at the proposed label height.
- Make the product type readable beside the scent.
- Use separately approved product wording for each variant.
- Check box folds and bottle curves with paper mockups.
- Confirm material suitability with your label supplier.
Questions & answers
Can I use a skincare bottle template for room spray?+
A similar shape does not guarantee a suitable layout. Check dimensions, product identity, space for approved wording and material suitability before adapting a design.
Should every scent use a different label colour?+
A colour cue can help organise a range, but also identify the scent in readable text. Keep the brand hierarchy consistent so variants remain recognisable as one collection.
Sources & further reading
Official references for the technical points in this guide. Check current specifications before production.