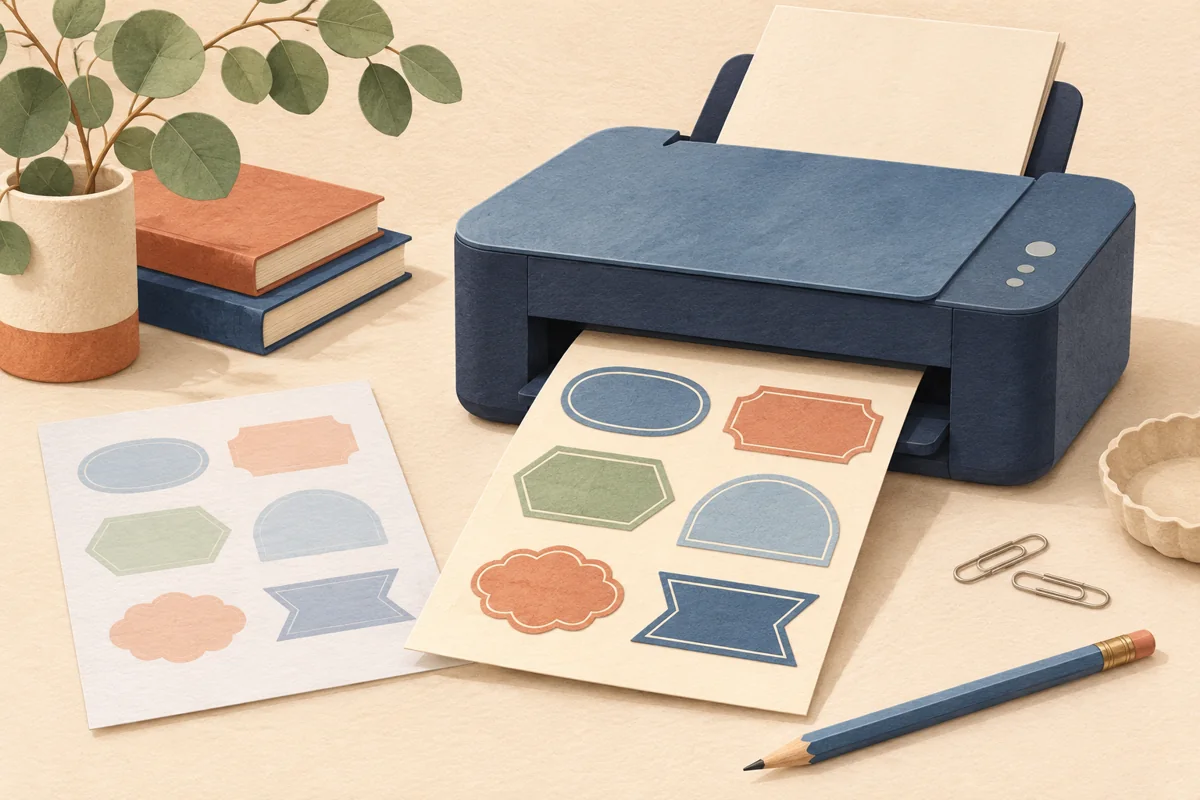
Wax melts are often presented in packaging that has more interruptions than an ordinary jar: a hanging hole, a clear window, moulded pockets or a fold-over top. The useful design area is whatever remains after those features have been accounted for. A coherent range starts by choosing one reliable place for the product identity and scent, then adapting the supporting details to each package. This guide covers artwork planning and print preparation, not product formulation or the approval of safety and regulatory wording.
01
Choose the package before the label shape
Compare the clamshell, bag or box you intend to use rather than selecting a label from a generic mockup. On a clamshell, identify the flat panel, closure and any raised edges. On a bag, identify the area that stays flat after filling. On a box, note the opening flap and the direction the package sits on a shelf.
Cut a paper mockup for the main panel and check it with the package both open and closed. A label that looks spacious on an empty bag can bend sharply when the product is inside. Avoid crossing an opening or obscuring a window by accident. If a seal is part of your design, test its placement as its own packaging feature.
02
Build a range customers can compare
Keep brand position and basic typography consistent across scents. Let a scent name and a restrained visual cue distinguish the variants. Colour can help, but it should not be the only difference: the range must still make sense in a monochrome proof or a small product photograph. Avoid relying on tiny illustrations to identify a fragrance.
Imagine three fictional variants: Linen Morning, Orchard Walk and Fireside Evening. Give all three the same name area and product descriptor, then use a small accent or motif to separate them. Print the longest name at the actual size first. If one variant forces the brand into a different position, improve the shared master instead of making isolated spacing compromises.
03
Separate decorative copy from approved information
Write an inventory of every content item before arranging it. Put marketing language in one group and separately approved product information in another. Identify which package panel can hold each group at a readable size. Leave space for variable details such as your own product reference without assuming every stock template contains the right fields.
Do not treat a pretty front sticker as a substitute for the complete packaging review. Wax-melt wording and warnings depend on the actual product and market. Ask the appropriate qualified adviser what information must be used, then design around that approved content. If the package is too small, reconsider the format rather than squeezing the text until it is unreadable.
04
Prepare the label for the real production method
Decide whether you will use precut sheets, individually cut labels or a professional roll order. Each has its own placement and file requirements. For precut stock, use the exact manufacturer's sheet arrangement; matching the individual sticker size alone does not guarantee that the rows and margins align with your paper.
Ask the label supplier to recommend a construction for the surface and expected handling. Confirm printer compatibility before purchasing blank stock. In Canva, follow the chosen printer's bleed and safe-area instructions, then inspect the exported file rather than assuming the editing view is a print proof. A decorative border close to the edge can make minor trim differences more noticeable.
05
Review a small display, not one isolated sticker
Place several labelled packages together in the way you intend to photograph or sell them. Check whether a folded header covers the scent name, whether a hanging display changes orientation, and whether a clear window reflects light across important wording. Read the main information without picking up each package. Then inspect the supporting panel at close range.
Keep a proof log for each packaging format. Record what changed between the clamshell label and the bag label, including size, paper and artwork version. When a new scent joins the range, copy the approved master, replace every variable field and repeat the longest-name check. This makes expansion more orderly than building each new variant from an unrelated file.
BEFORE YOUR NEXT STEP
Your practical checklist
- Identify closures, windows and flat label surfaces.
- Proof the longest scent name at finished size.
- Have product-specific wording reviewed separately.
- Match artwork to the exact sheet or print specification.
- Check several variants together in a display.
Questions & answers
Should wax-melt labels cover the clear window?+
That is a presentation decision to test on the actual package. Keep the product identity readable and decide deliberately how much of the product you want the customer to see.
Can candle and wax-melt packaging share a design?+
They can share brand elements, typography and colours. Keep the product identity clear and adapt dimensions and approved information to the actual product and package.
Sources & further reading
Official references for the technical points in this guide. Check current specifications before production.