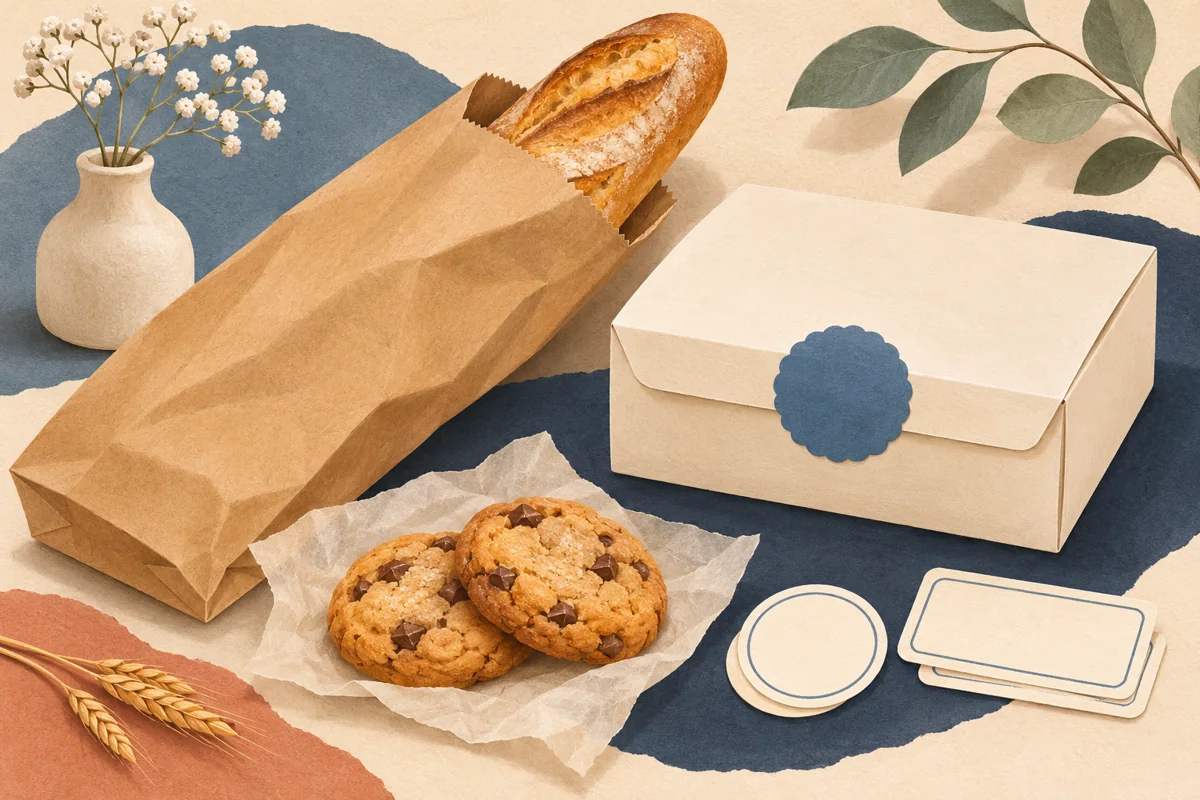
A sourdough loaf changes the way a bag sits. Its shape can pull the front panel outward, the folded top can cover a sticker and a paper window can limit available space. Before choosing a decorative label, build a complete packaging mockup with the bag and loaf shape you actually use. The best arrangement is one that your packing routine can repeat and your customer can read. This article concerns label design and placement; food information, packaging suitability and handling instructions need review for the specific product and market.
01
Find the label area after folding the bag
Place a representative loaf or a safe presentation substitute inside the exact bag. Close it the way you intend to close customer orders, then identify the visible front area. Measure below the folded header and above any base folds that distort the bag. A flat empty bag can make the usable space look much larger than it really is.
Compare a front rectangle, a small seal and a label on a separate tag if that is part of your packaging plan. Use paper first so you can try positions without wasting adhesive stock. Check the design from a customer's view, not only from above the packing table. Record the chosen placement as well as the dimensions.
02
Let the bread name do useful work
Keep the product name clear beside the brand. Short decorative phrases can add character, but they should not make it difficult to distinguish a plain country loaf from another variety. A consistent hierarchy is especially useful when several loaves are displayed together or photographed for a collection listing.
In a fictional range, Country Sourdough, Olive Sourdough and Seeded Rye can share one master. Start with the longest name, decide sensible line breaks and keep the supporting text area consistent. Do not narrow the letters or reduce only one variety to tiny type. If a name does not fit, the layout needs more room or a different proportion.
03
Keep approved content and changing details controlled
Write the final product wording in a separate source document and have the appropriate reviewer confirm it. Identify which details are fixed brand elements and which vary by loaf or package. Avoid treating an attractive example label as an approved description of your own recipe. The decorative template and the product-information record have different responsibilities.
Make a hypothetical production list with three country-loaf bags and two olive-loaf bags. Match each label export to that list before printing. If a variable detail is added during packing, decide where it will be written or printed without competing with the permanent design. Check that handwriting, if used, remains readable and that the process does not obscure other information.
04
Design for the paper and the print workflow
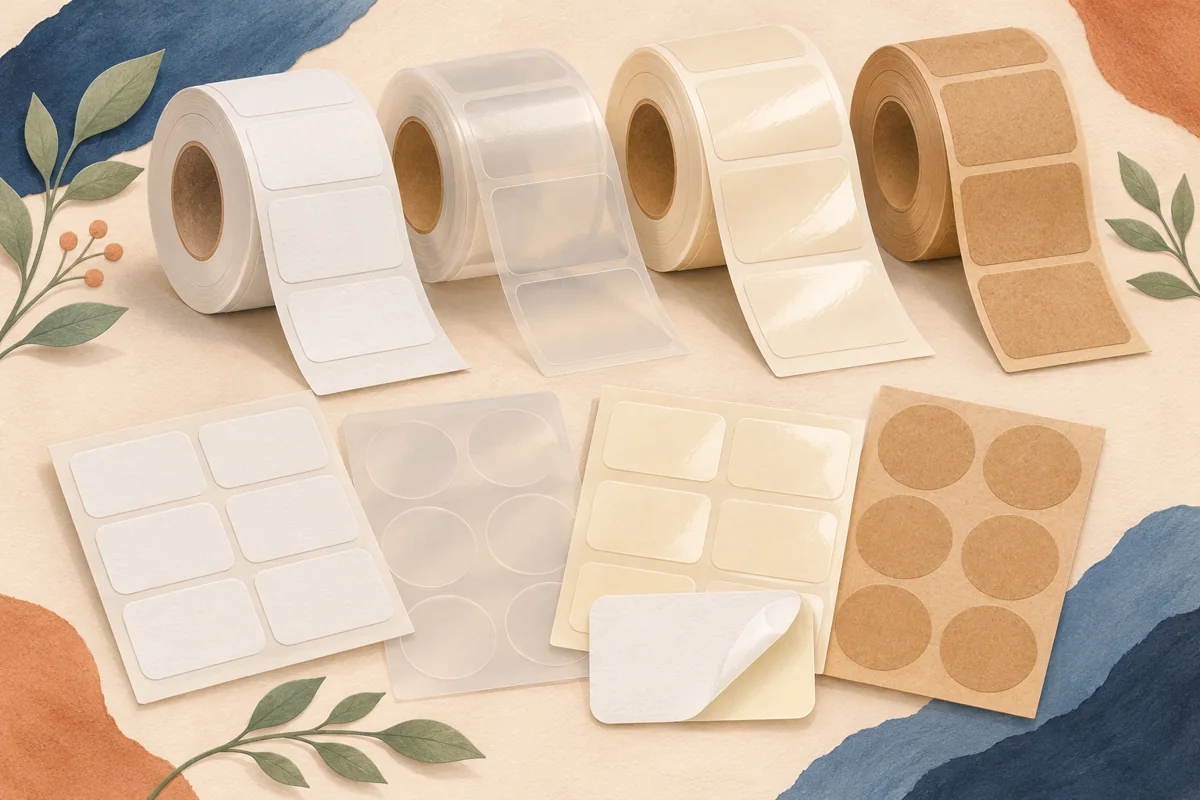
A kraft bag and a white coated bag change the visual context around the sticker. Compare a printed paper proof on each surface. Fine navy decoration may feel restrained on cream stock but visually disappear against a busy or dark background. Judge the entire package rather than choosing colours from the digital document alone.
Confirm the intended label construction and placement with the relevant suppliers. Do not assume a natural-looking material is suitable for every packaging application. For home printing, use stock compatible with your printer and the exact sheet layout. For a commercial order, follow the printer's finished-size and bleed requirements and inspect the actual export before approving it.
05
Create a packing reference you can reuse
Take a clear photograph of the approved label on a closed bag. Add a simple note showing the top edge position and the artwork reference. Keep that guide near the packing area so labels do not drift upward into folds as different people apply them. If multiple bag sizes are used, prepare a separate reference for each.
Save the editable master, approved text record and print export with descriptive names. Keep the bag supplier's reference so a later purchase can be compared with the approved sample. Repeat the paper fit check when bag dimensions, window position or closure method change. Consistency comes from a repeatable package-and-label combination, not just repeating the same logo.
BEFORE YOUR NEXT STEP
Your practical checklist
- Measure the bag after filling and closing it.
- Leave windows, folds and closure areas clear.
- Test the longest bread name on the shared master.
- Keep an approved text record for every variety.
- Photograph label placement for the packing routine.
Questions & answers
Can the same label fit different bread-bag sizes?+
Possibly, but test each filled and closed format. Different fold heights and window positions can change the visible area even when the bags look similar.
Should a bread label show a decorative product description?+
Only use wording that accurately describes your own product and has been reviewed where necessary. Decorative examples in a template are starting text, not verified facts about your bread.
Sources & further reading
Official references for the technical points in this guide. Check current specifications before production.