A gift set needs to work as one presentation and as several individual items. The outer package should make the contents easy to understand, while the products inside still need clear identities of their own. Start with a complete packing mockup rather than designing a large decorative sticker first. Lay out the actual box, dividers and products, then decide which surface introduces the set and which surfaces support its individual components. This guide covers visual organisation; each product's approved information and packaging requirements remain a separate responsibility.
01
Define the set before choosing the decoration
Write a plain-language inventory of what the customer receives. Identify the number of items, their product types and which selections are fixed or variable. Distinguish a gift sleeve or branded box from the actual included products. If the set can be customised, decide how the final contents will be recorded and checked before packing.
A fictional home-fragrance duo might contain one candle and one reed diffuser in selected scents. Its box should communicate those two product types clearly rather than relying on a romantic collection name alone. The decorative title can add personality, but the contents description does the practical work. Do not imply that props shown in a photograph are included when they are not.
02
Assign a job to each package surface
Map the box front or lid, side panels, individual product labels and any insert. Decide where a person will look first when the set is closed and what they see when it opens. Keep essential identity on a reliably visible surface. A sticker hidden under a bow or sleeve may be attractive in a flat layout but unhelpful on the finished package.
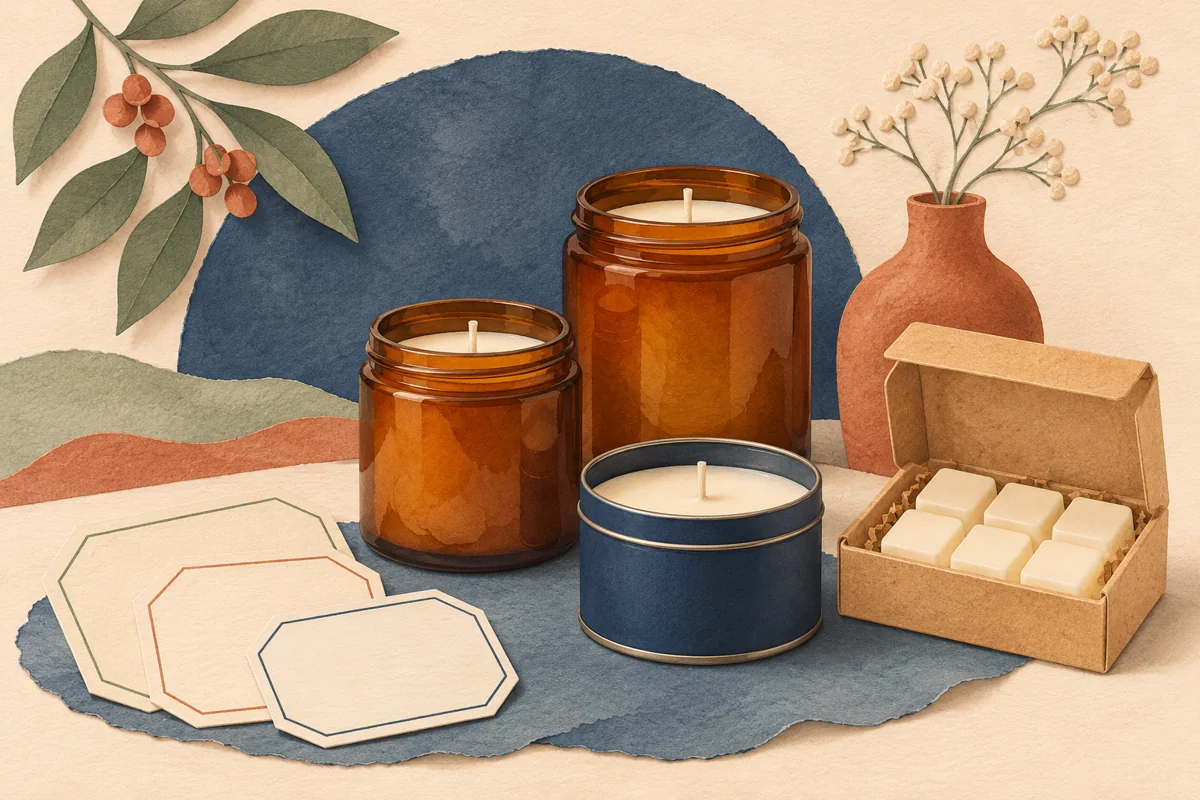
Place paper labels on the packed mockup and check the opening sequence. If an insert is included, make it easy to find without displacing or covering individual product information. Have the responsible reviewer confirm the allocation of approved wording. A gift box or decorative card should not be assumed to replace information that belongs with one of the products.
03
Coordinate through a few stable design decisions
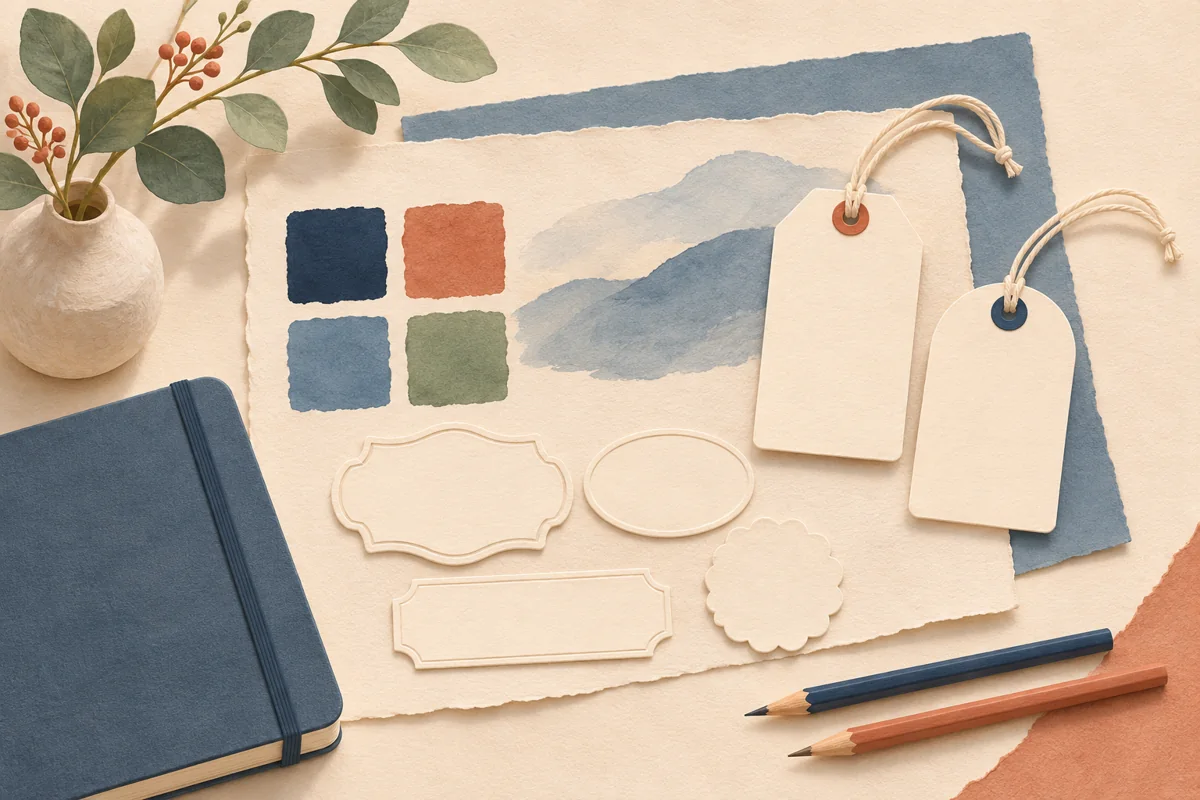
Choose shared typography, a limited palette and one recognisable motif or rule. Repeat those features across the box and products, then adapt the layout to the surface. A tall bottle, shallow tin and rectangular box will not all benefit from the same proportions. Coordination comes from the system, not from stretching the same sticker over every shape.
For a worked design example, give the outer set a generous central title and small contents line. On the candle and diffuser, keep a common brand position but let the product type and scent occupy their own readable areas. Compare the complete open set from above. Check that the products look related without making it difficult to tell them apart.
04
Keep variable sets and personalised messages controlled
Use a simple order reference that connects the chosen products, scents and optional decorative message. Keep the generic gift-set artwork separate from order-specific exports. A name or occasion should be checked for spelling without overwriting the master used for the next order. Give the packing team a clear way to distinguish a decorative message from product-identification text.
Imagine two orders with the same box but different scent combinations. Prepare a contents checklist for each before applying the outer label. Match each item to its own approved artwork and confirm that the set description still matches what is inside. This check is particularly useful when several products have similar containers or closely related names.
05
Proof the closed and open presentation
Inspect the closed box from the front, the top and the normal carrying position. Then open it and check whether tissue, dividers or ribbons conceal important product identities. Photograph the arrangement at a realistic listing size. The customer should be able to understand the included items without enlarging a small decorative detail or guessing from the props.
Keep approval notes for box dimensions, label stock, artwork revisions and label positions. Ask suppliers about material suitability for each surface rather than assuming one adhesive works everywhere. When a product or container changes, recheck both the individual label and the complete set. A small change in bottle height can alter how the presentation fits, opens and photographs.
BEFORE YOUR NEXT STEP
Your practical checklist
- Write an exact inventory of included items.
- Give outer and individual labels distinct jobs.
- Keep product identity visible under ribbons and inserts.
- Check personalised messages without overwriting masters.
- Review both the closed box and open set.
Questions & answers
Should every item in a gift set use an identical label?+
No. Use shared brand elements while adapting dimensions and hierarchy to each item. Clear identification matters more than making unrelated package shapes look artificially identical.
Can I use one label material for the box and every product?+
Only if the suppliers confirm that the exact construction suits each surface and application. Boxes, glass bottles and tins can require different practical specifications.
Sources & further reading
Official references for the technical points in this guide. Check current specifications before production.