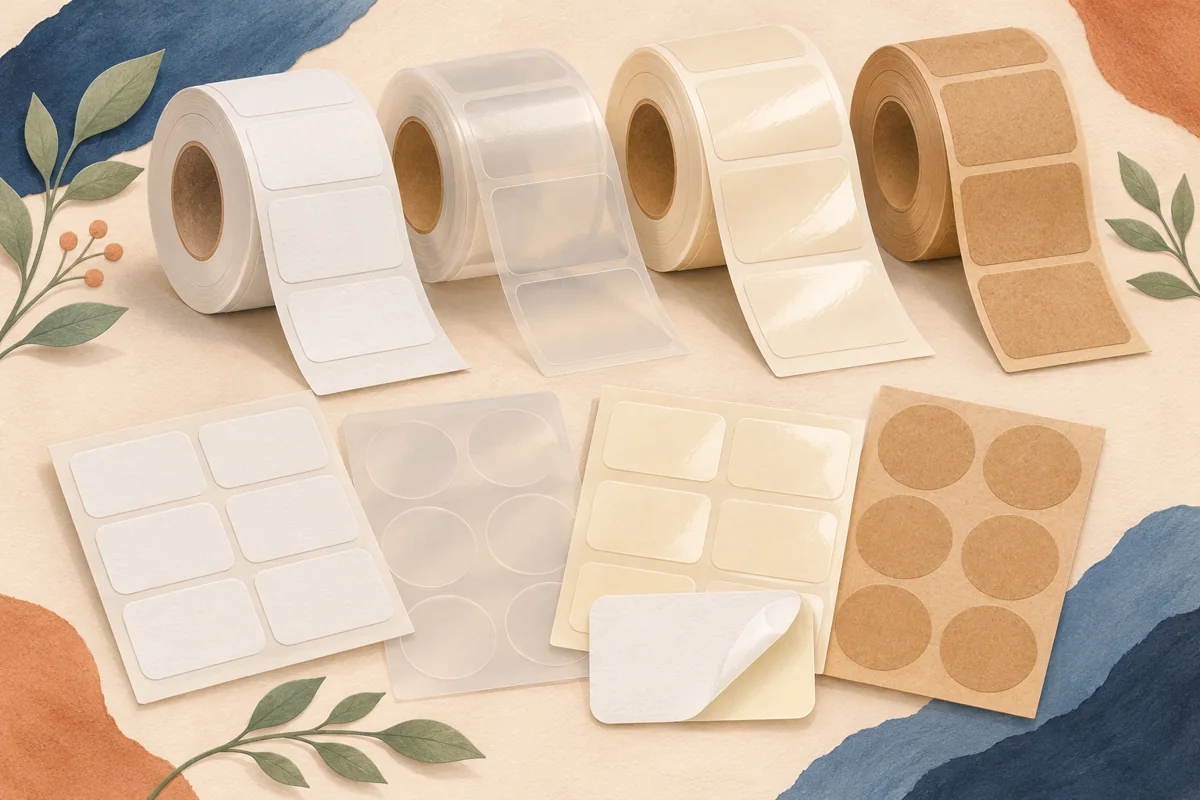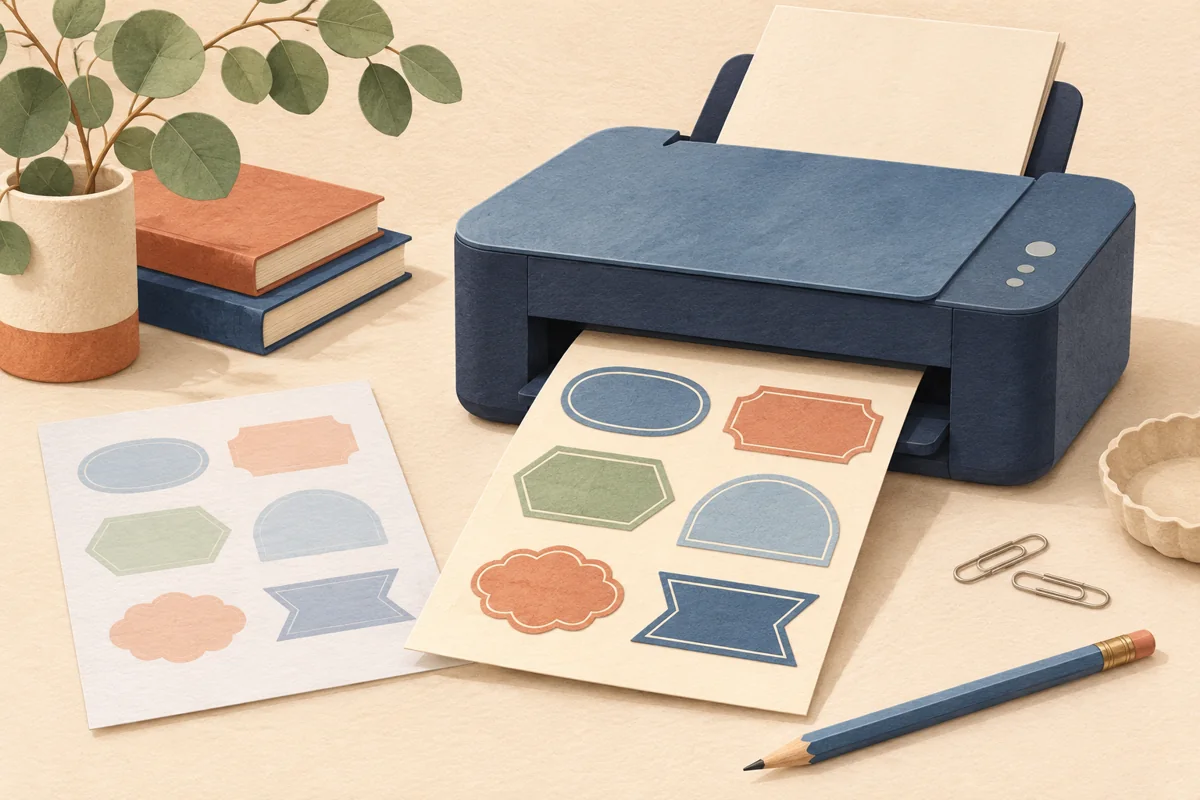
A logo with a white rectangle behind it can interrupt a coffee pouch mockup or cover a colored panel on a label. A transparent export lets the artwork sit over another background. Decide where the file will be used before exporting, because a mockup overlay and a finished label can need different files.
01
Separate the logo from the finished label
Duplicate the artwork onto a page reserved for the logo or emblem. Remove the surrounding product details and any decorative panel you do not want in the overlay.
For an illustrative tea collection, the overlay might contain the shop name and a small leaf emblem. The print page still contains the blend name, package details and any intended background color.
02
Check whether your account supports the export
Canva lists transparent-background download on eligible plans including Pro, Teams, Business, Education and Nonprofits. Its current help page supports PNG and WebP for this setting. Check the option in your own download panel before building a workflow around it.
If the option is unavailable, keep working in the editable design while you decide how to supply the logo. For a mockup that stays inside Canva, placing editable text and graphics directly on the layout can be sufficient.
03
Test the saved file against two surfaces
Download just the page that holds the logo. Add that saved file to a new test page with a pale background, then duplicate the test with a dark background. Inspect the edges around leaves, letters and small gaps. A white shape left behind the emblem becomes easy to spot on the dark version.
Look at the logo at the size it will appear on the package preview. A delicate outline can survive a large on-screen view and disappear on a thumbnail. Adjust the original artwork when needed and export again, keeping the approved file separate from the earlier test.
04
Confirm how the artwork should print
For a clear label, ask the printer what should remain transparent and where the design needs opaque ink. A transparent area in the file does not specify a white ink layer. If white lettering must appear over amber glass, discuss that requirement before approving the artwork.
Send an annotated preview showing the intended result alongside the file requested by the printer. For example, mark the shop name as opaque white and the space around it as clear. Follow the supplier’s instructions for the production file rather than treating the mockup image as the complete print specification.
05
Save an overlay and a print master
Use filenames that state the purpose, such as tea-logo-overlay and tea-front-label-print. Keep the editable source with them. When the logo changes, replace it in the mockup and the label master, then compare both versions before publishing new listing photos or ordering labels.
Check the final photo with the transparent overlay placed at the correct proportions.
BEFORE YOUR NEXT STEP
Your practical checklist
- Separate the logo page from the complete label.
- Confirm the transparent export option on your account.
- Inspect the saved file over light and dark backgrounds.
- Agree any white ink requirements with the printer.
Questions & answers
Will a transparent PNG print white text?+
The printer needs a process that can produce white ink and a file prepared to its instructions. Show the intended appearance and ask how to supply the artwork.
Why does my export still have a white box?+
Check for a white shape or image behind the logo, confirm the selected page, and verify that Transparent background was enabled for a supported file type.
Sources & further reading
Official references for the technical points in this guide. Check current specifications before production.