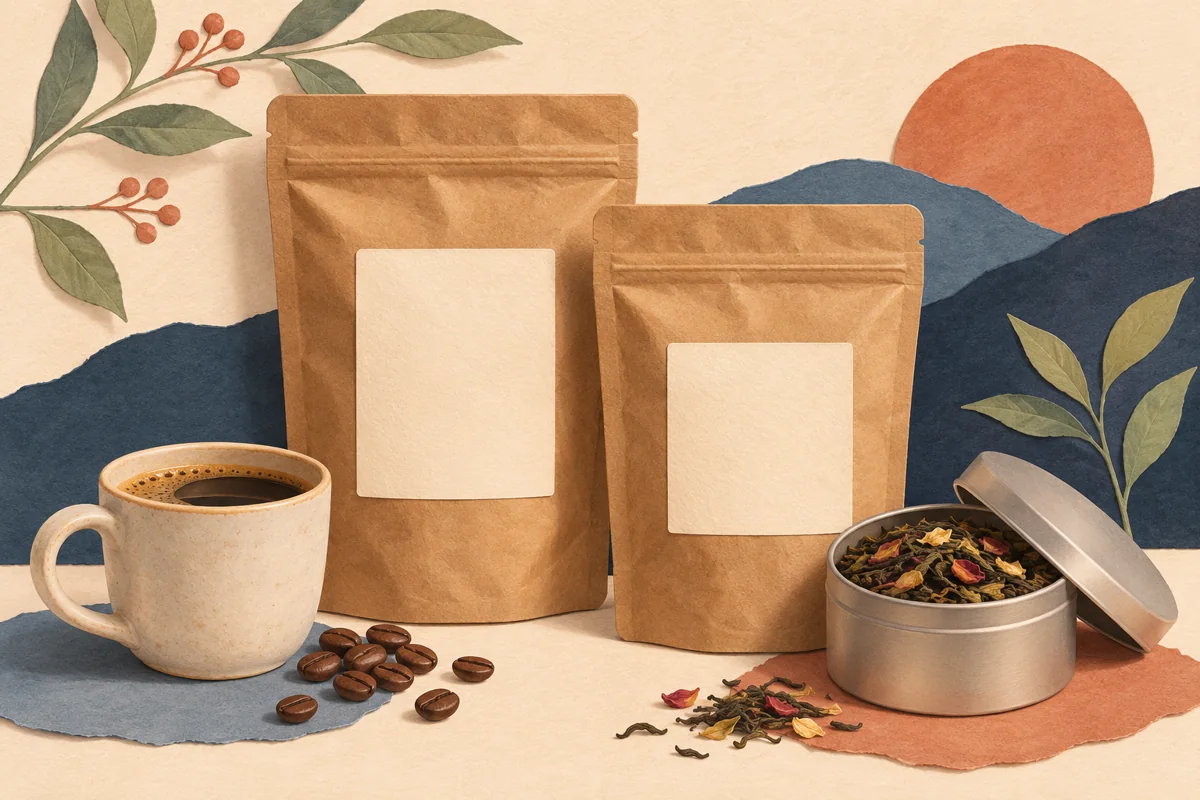
The flat size of a coffee bag can make its front label area look generous. Filling and folding the top changes that space. A tin tie adds another reference line, and the artwork needs to fit below the fold in the package’s normal displayed position.
01
Start with the bag’s own closure specification
Tin-tie bags are available in different constructions and sizes. TricorBraun Flex’s catalog includes paper tin-tie options, and individual products can differ in their liner and closure details. Request the specification and a physical sample of the exact bag you intend to use.
Ask which parts of the upper bag need to remain clear during filling, sealing and folding. Treat the tin tie as one part of the complete package. Follow the supplier’s guidance for your intended product and packaging process rather than assuming every bag closes the same way.
02
Measure after making the normal fold
Use the intended fill amount and make the top fold in your usual packing sequence. Mark the lowest edge of the fold on a temporary paper outline. Then measure down to the point where the front starts to round into the bottom gusset.
If the panel changes noticeably with different fills, make two samples representing the range you actually sell. A label that clears the fold on a fuller bag may sit too high when a smaller portion needs another turn at the top. Keep separate artwork sizes where the usable panels differ.
| Reference | What it determines |
|---|---|
| Finished top fold | Upper label boundary |
| Bottom gusset | Lower straight panel |
| Tin-tie ends | Areas to keep clear during closing |
03
Check the front when the bag stands
Put the closed bag on the shelf or display tray. Position the product name inside the visible panel and check whether the bag leans forward or bulges through the label. A narrower label can leave useful clearance on both sides of a rounded filled pouch.
For an illustrative roast range, keep the blend name and weight at consistent positions below the fold. Allow the longest name enough room. Compare several bags together so variation in folding does not make the name line rise and fall across the display.
04
Approve the packed bag rather than the loose sticker
Apply a sample label to the bag at the supplier’s recommended stage. Close and reopen the sample in the ordinary way and inspect the label’s top edge. If the fold catches it, move the panel down or review the label height.
Keep a closed reference bag with the fold position, label dimensions and print file. When the bag size, material or closure changes, repeat the check. That simple record prevents an old label order from being reused on a similar-looking bag with less visible front space.
BEFORE YOUR NEXT STEP
Your practical checklist
- Obtain the exact bag specification.
- Measure the filled and folded panel.
- Clear closure features.
- Save an approved closed bag.
Questions & answers
Can I size the label on an empty coffee bag?+
Use the empty bag for an initial outline, then approve the dimensions on the filled and folded package.
Can a label overlap the tin tie?+
Check the supplier’s intended closure area and keep the artwork from obstructing movement or the packing process.
Sources & further reading
Official references for the technical points in this guide. Check current specifications before production.