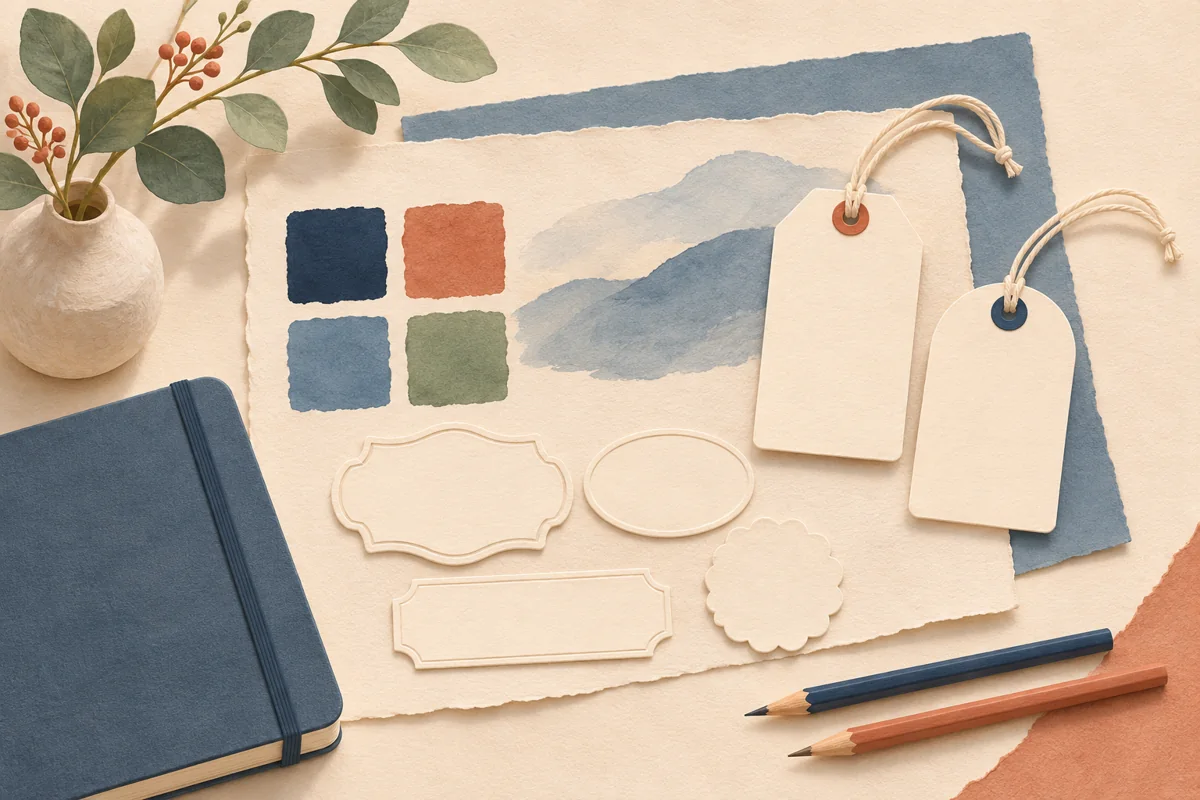
A small vanilla bottle can look carefully finished with a simple front label and a small tag. The challenge is deciding which words belong on each piece. Product identity needs a stable place even when a personalised gift tag is removed.
01
Write the product information before choosing a size
List the exact information you want to show, such as the product name, maker and any applicable quantity or batch details. Use accurate wording for the finished product. If you plan to sell it, check the requirements for the product and your market before approving the copy.
For a personal gift, separate the product identity from the recipient’s message. Vanilla for Maya can sit on a removable tag while the bottle retains its product name. This keeps the design easier to read when a long message is added.
02
Measure the bottle below the shoulder
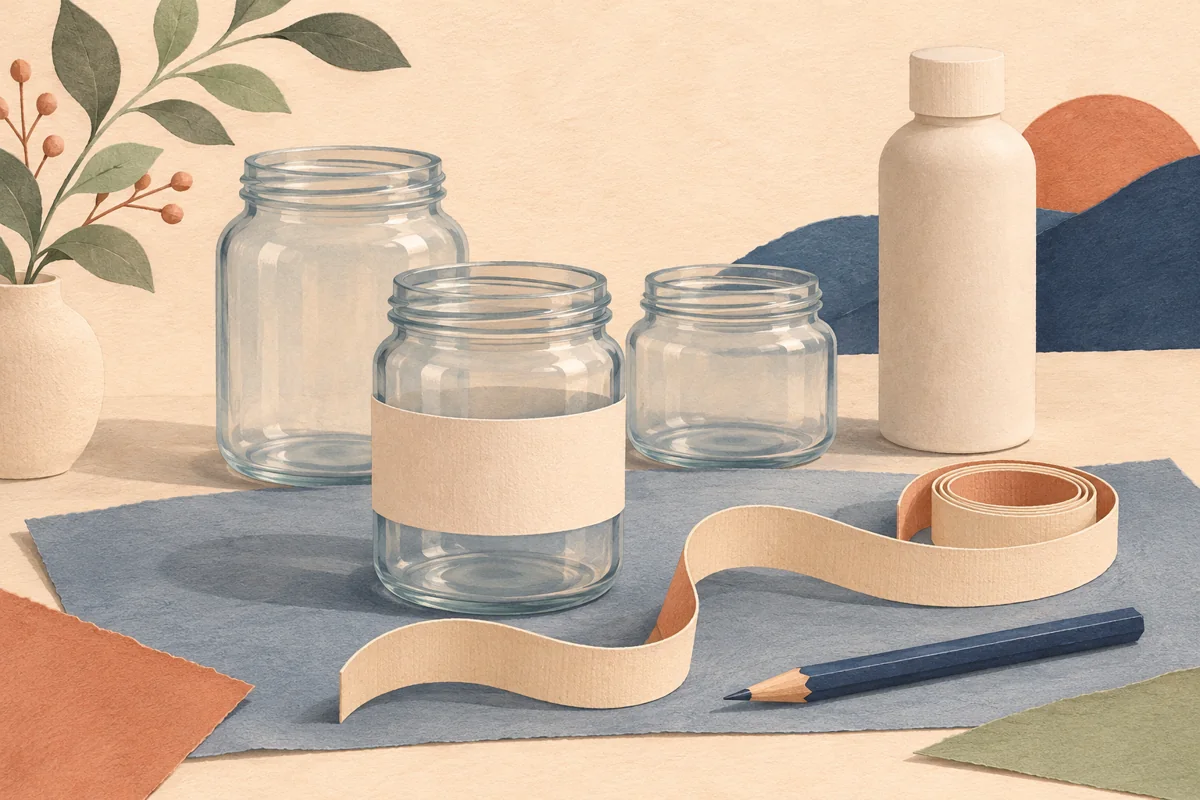
Wrap a paper strip around the smooth body and mark the area below the shoulder. Check the sidewall for taper and leave important text inside the portion visible from the front. A narrow label can be easier to read than a large wrap that hides the ends of the name.
If the bottle has very little height, compare a landscape front label with a small rear panel. Keep the closure free to open and make sure any gift tag does not cover the product name when it hangs naturally.
| Piece | Purpose | Proof question |
|---|---|---|
| Front label | Identify the product clearly | Does the name read on the shelf? |
| Rear panel | Hold supporting batch or product details | Is the small text readable at actual size? |
| Gift tag | Carry the recipient and message | Does it hang without hiding the bottle identity? |
03
Check contrast on the filled glass
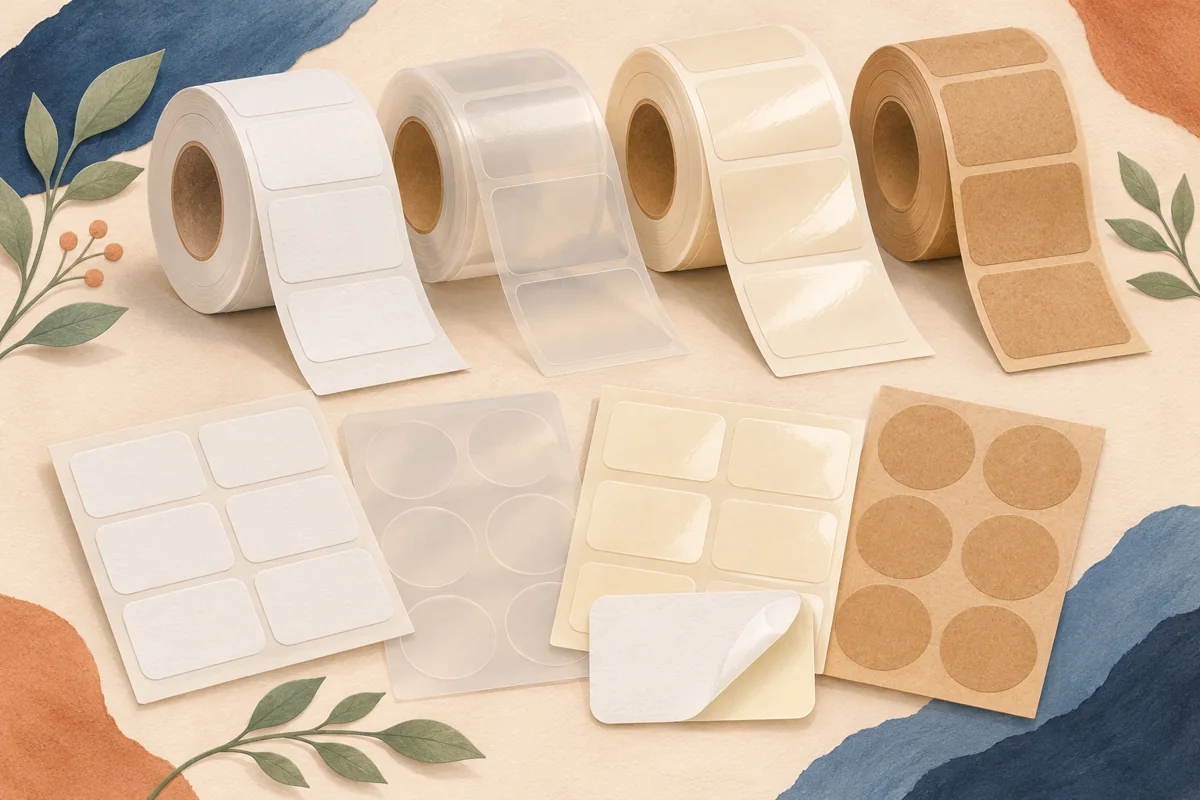
Print the same design on the stock you intend to use. On amber glass, a clear label lets the dark bottle colour influence the print. Compare an opaque background with the clear proof under the lighting where you photograph or display the gifts.
Use the longest maker name and gift message for the test. If a small decorative script becomes difficult to read, reserve it for a short accent and give the product identity a sturdier type style. Check the label in a phone photograph as well as in your hand.
04
Keep batch and gift details organised
Create one master design for the bottle size, then duplicate it for the actual batches or occasions. Name the files clearly so a recipient name cannot be confused with a product variant. Check every personalised copy against a written packing list before printing.
Pack one complete gift with its tag, protective packaging and any included instructions. Open it and check what stays with the bottle. Save the approved print size, stock and bottle model together so the next round of gifts is straightforward to prepare.
BEFORE YOUR NEXT STEP
Your practical checklist
- Write accurate bottle information first.
- Measure below the shoulder.
- Compare contrast on the filled bottle.
- Check personalised copies against the packing list.
Questions & answers
Can the gift message go on the bottle label?+
Yes, when it fits at a readable size and leaves enough room for the product information. A separate tag gives longer messages more space.
Can I use clear labels on amber bottles?+
Test the actual stock and print first. Dark glass changes the visible background, and some lettering may need an opaque backing.
Sources & further reading
Official references for the technical points in this guide. Check current specifications before production.