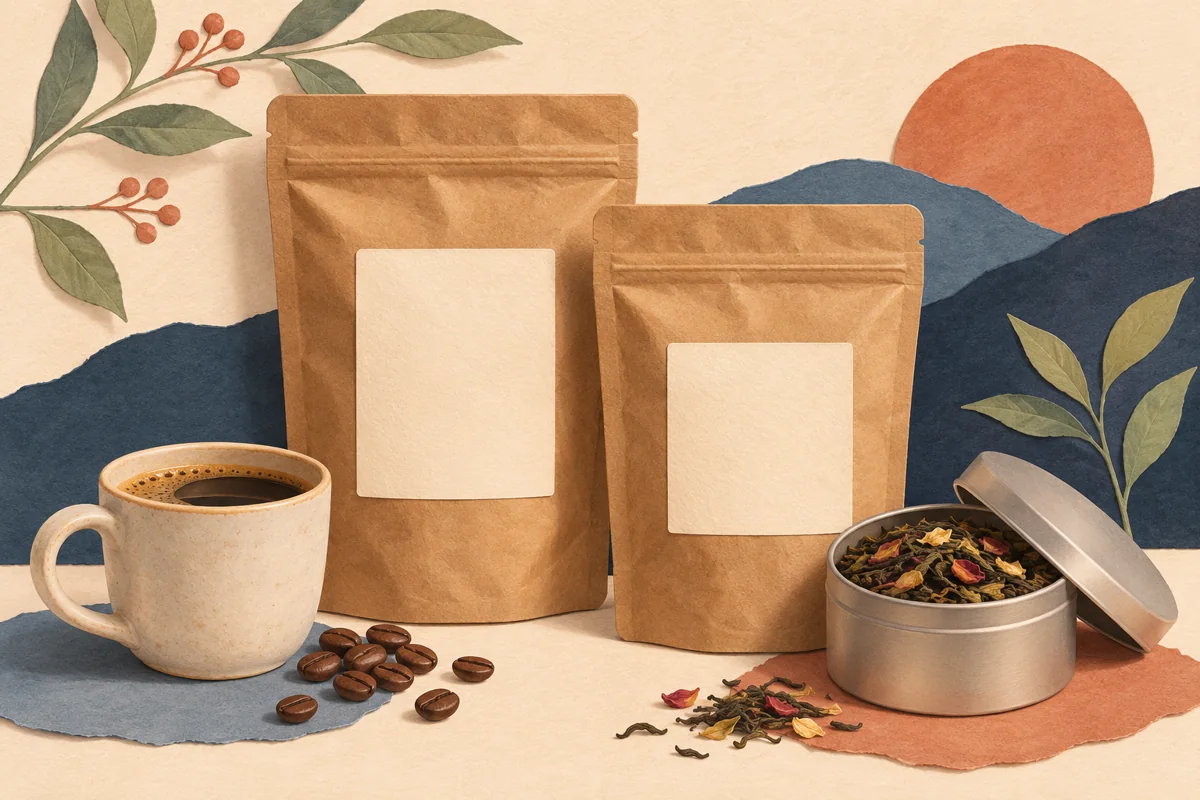
The same tea pouch gives different label space when flat, filled and standing. The zipper occupies the top, the gusset shapes the bottom, and a window may already claim the center. Choose the position on the actual filled package and keep the changing panel shape in view.
01
Map the panel in its displayed shape
Stand the filled pouch on the surface where it will be sold or photographed. Identify where the front begins to curve around the side and where the lower gusset changes direction. Measure between those boundaries instead of using the bag’s full flat width and height.
Put a temporary paper outline in the proposed label area. Look from directly in front and from a slight side angle. If the name curves out of view or a corner lifts at the gusset, shorten the outline and compare the smaller proof.
02
Leave the opening path easy to use
Mark the tear area, seal and zipper on the outline. Ask the package supplier which areas must remain clear for the intended closing process. Keep the label from bridging a part that the customer needs to tear, fold or pull.
Open and reclose the sample in the usual way with the paper proof in position. Notice where fingers grip the front. If they repeatedly catch a label edge, move that edge or choose a smaller panel. Check the result after the package has been handled as well as when freshly arranged.
| Pouch feature | Placement check |
|---|---|
| Zipper and tear area | Label leaves the opening clear |
| Window | Artwork leaves the planned view of the tea |
| Bottom gusset | Label stays on a smooth face |
03
Use the window without losing contrast
If the label overlaps a transparent area, test it over the lightest and darkest blends you will put in the pouch. Text that sits over a busy leaf mix may need its own opaque background. A window can show the product while a solid panel keeps the small lettering consistent.
Compare a top-left and a centered paper proof beside the actual window. The strongest position depends on the pouch design and the name length. Keep the maker and blend in a repeatable order across the range even when the window is placed differently on another bag model.
04
Approve the package and file together
Print the chosen artwork at actual size on the intended material and apply a sample using the label supplier’s directions. Check adhesion, folds and readable type on the filled pouch. A neat paper outline establishes size, while the adhesive sample checks the final construction.
Record the pouch model, usable panel dimensions, label stock and artwork file. Recheck the placement when a new blend changes the filled shape or when the supplier updates the window or closure. Keep the approved sample where the packing team can compare it easily.
BEFORE YOUR NEXT STEP
Your practical checklist
- Measure the filled front panel.
- Clear the seal, tear area and zipper.
- Check text over the window.
- Approve a printed label on the filled pouch.
Questions & answers
Should the label always be centered?+
Centering is one option. Compare it with the window, product shape and opening before choosing a placement reference.
Can the same label fit every tea blend?+
Check the filled shape of each blend and package combination. Different density or pouch formats can change the usable front area.
Sources & further reading
Official references for the technical points in this guide. Check current specifications before production.
